Different days. A shared place to work.
Packing orders. Picking up a conversation. Preparing a campaign. Connecting an API. Find the part of your day that brings you here.
Online stores (COD)
Before you pack it, ask.
The order is ready to go. But does the customer still want it? And will they be home? Give that question a place in your order routine.
Connect the store once.
A developer connects your store to the COD API. Your store sends a request for each cash-on-delivery order using an approved Utility template.
Set the follow-up.
In COD settings, choose your delivery time zone, an optional reminder, and a no-response deadline. Set the delivery days and time-range labels customers can choose.
Let the customer answer.
The confirmation offers confirm, cancel, or change time. Change time asks for a delivery day and time range from your configured options.
Read before you act.
Open Log and Refresh. Review Status, Answer, and Failure beside your order reference. The newest confirmations appear first; a later customer choice can update an earlier answer.
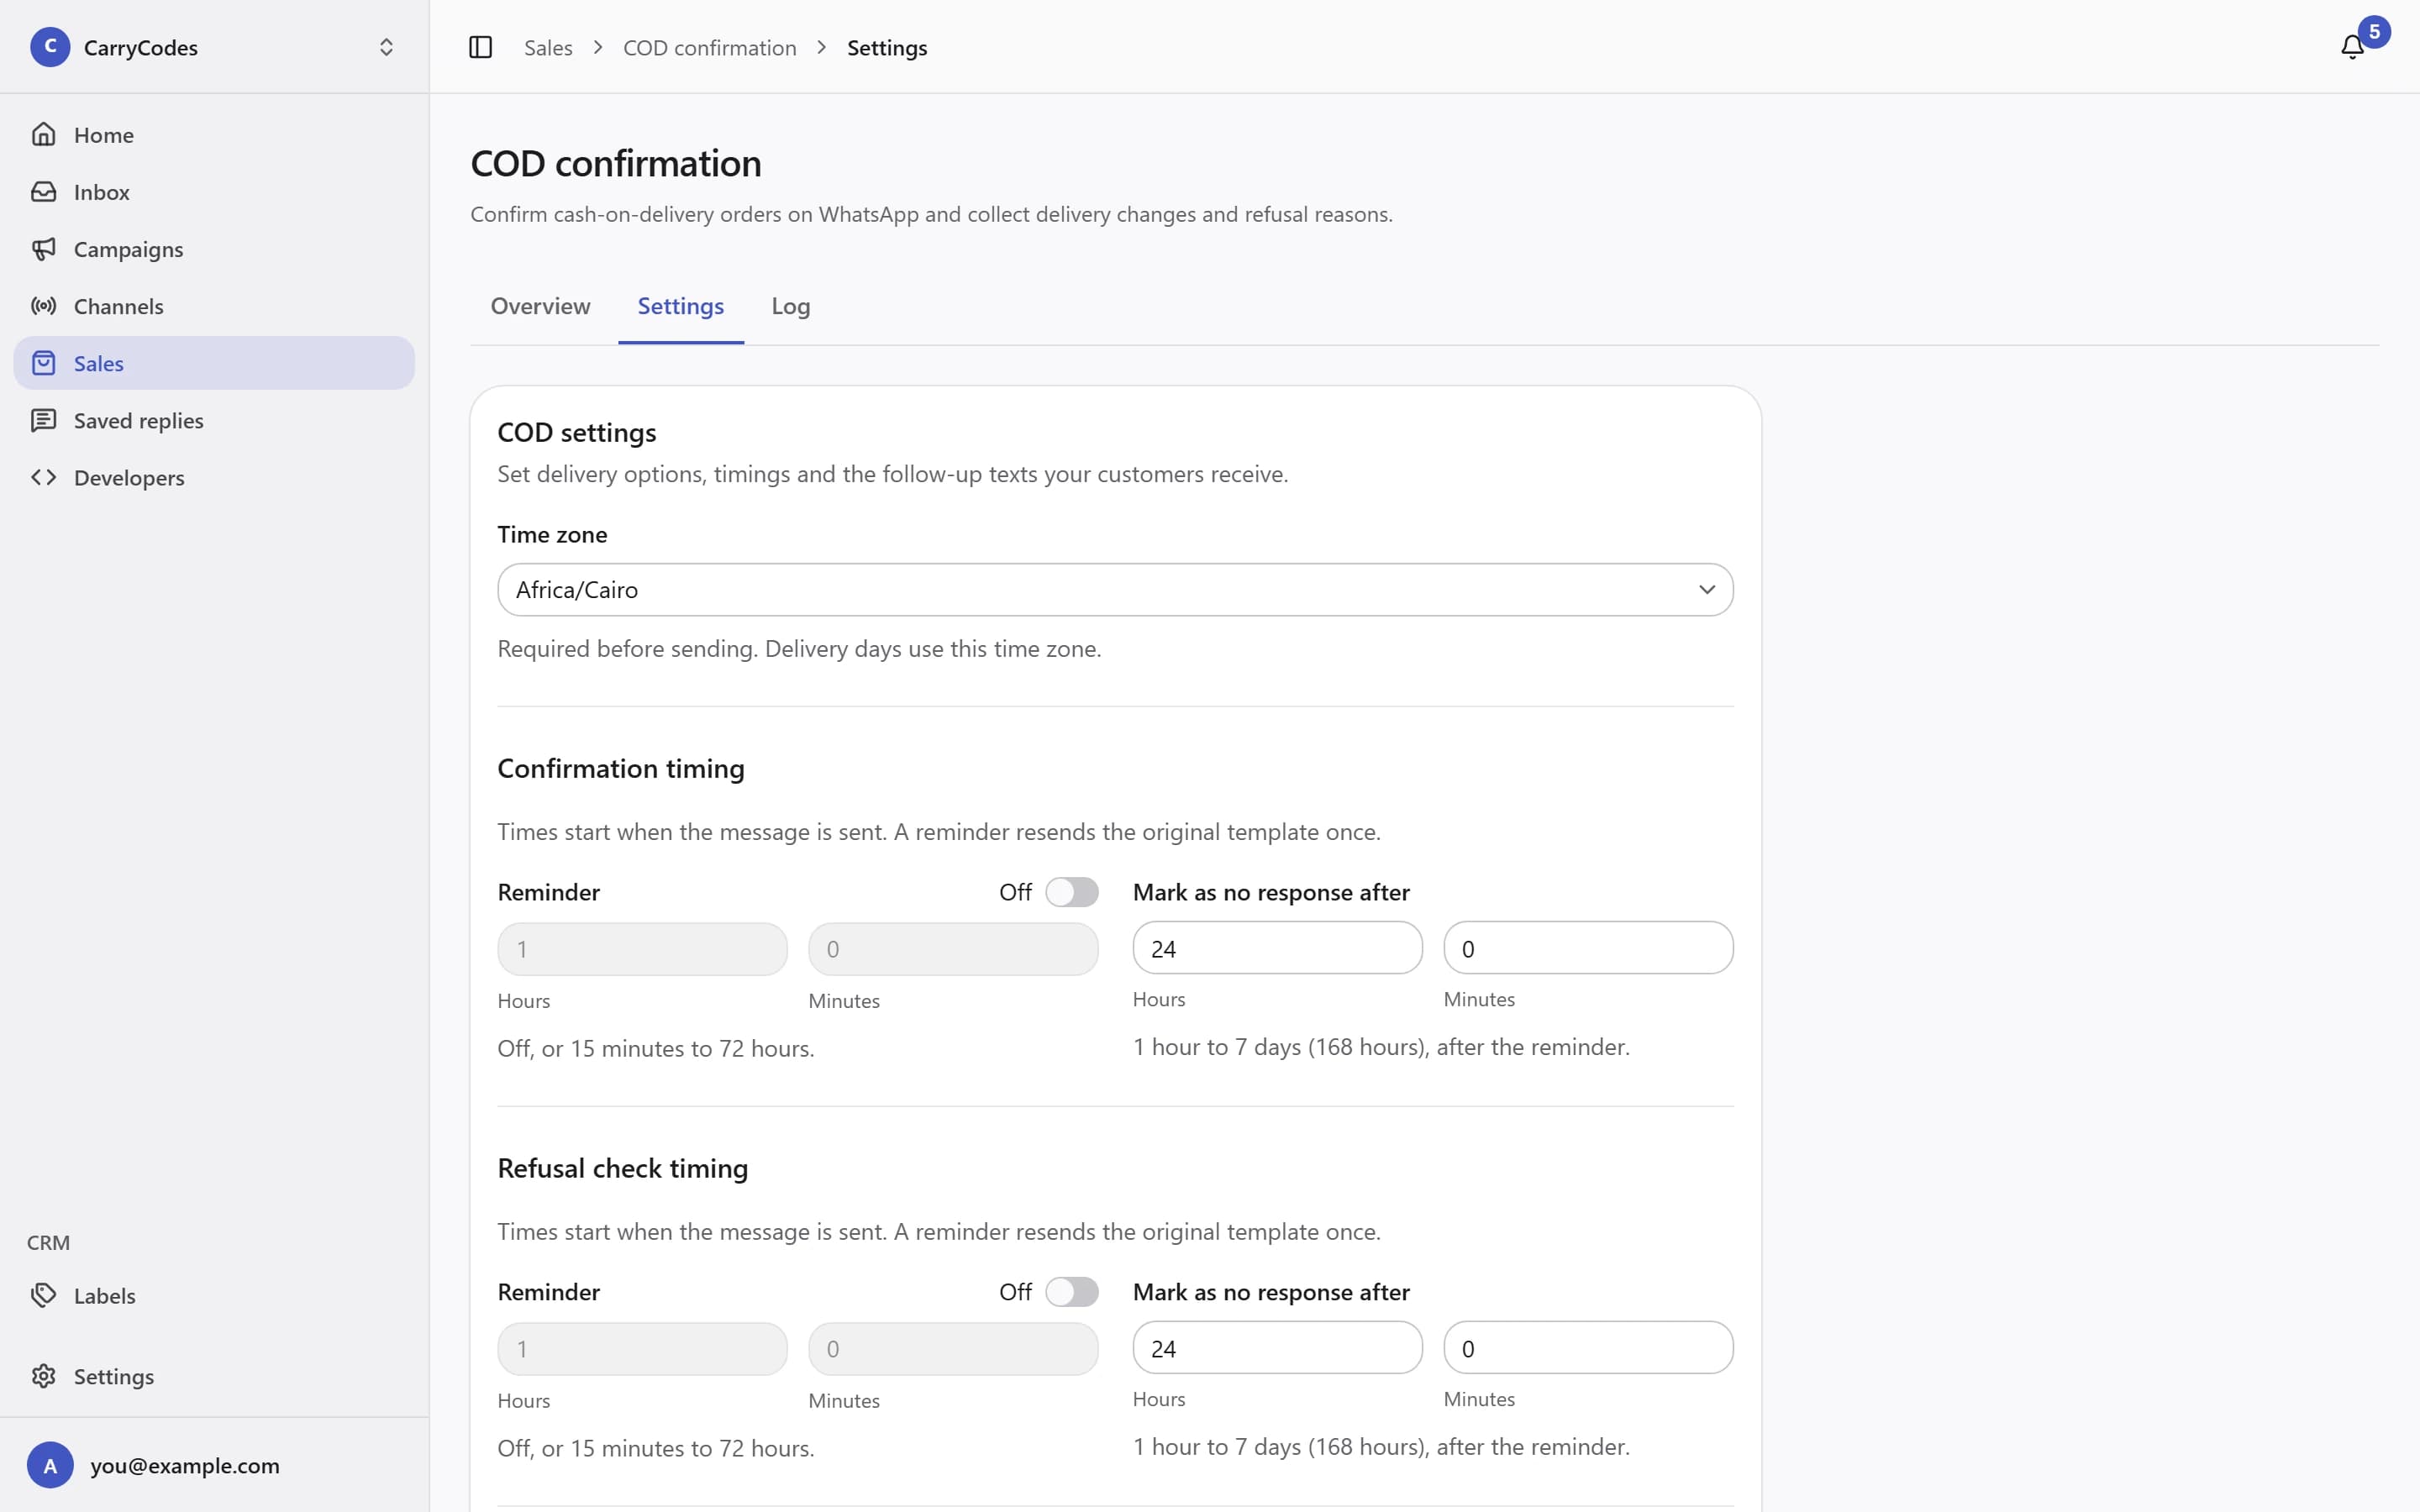
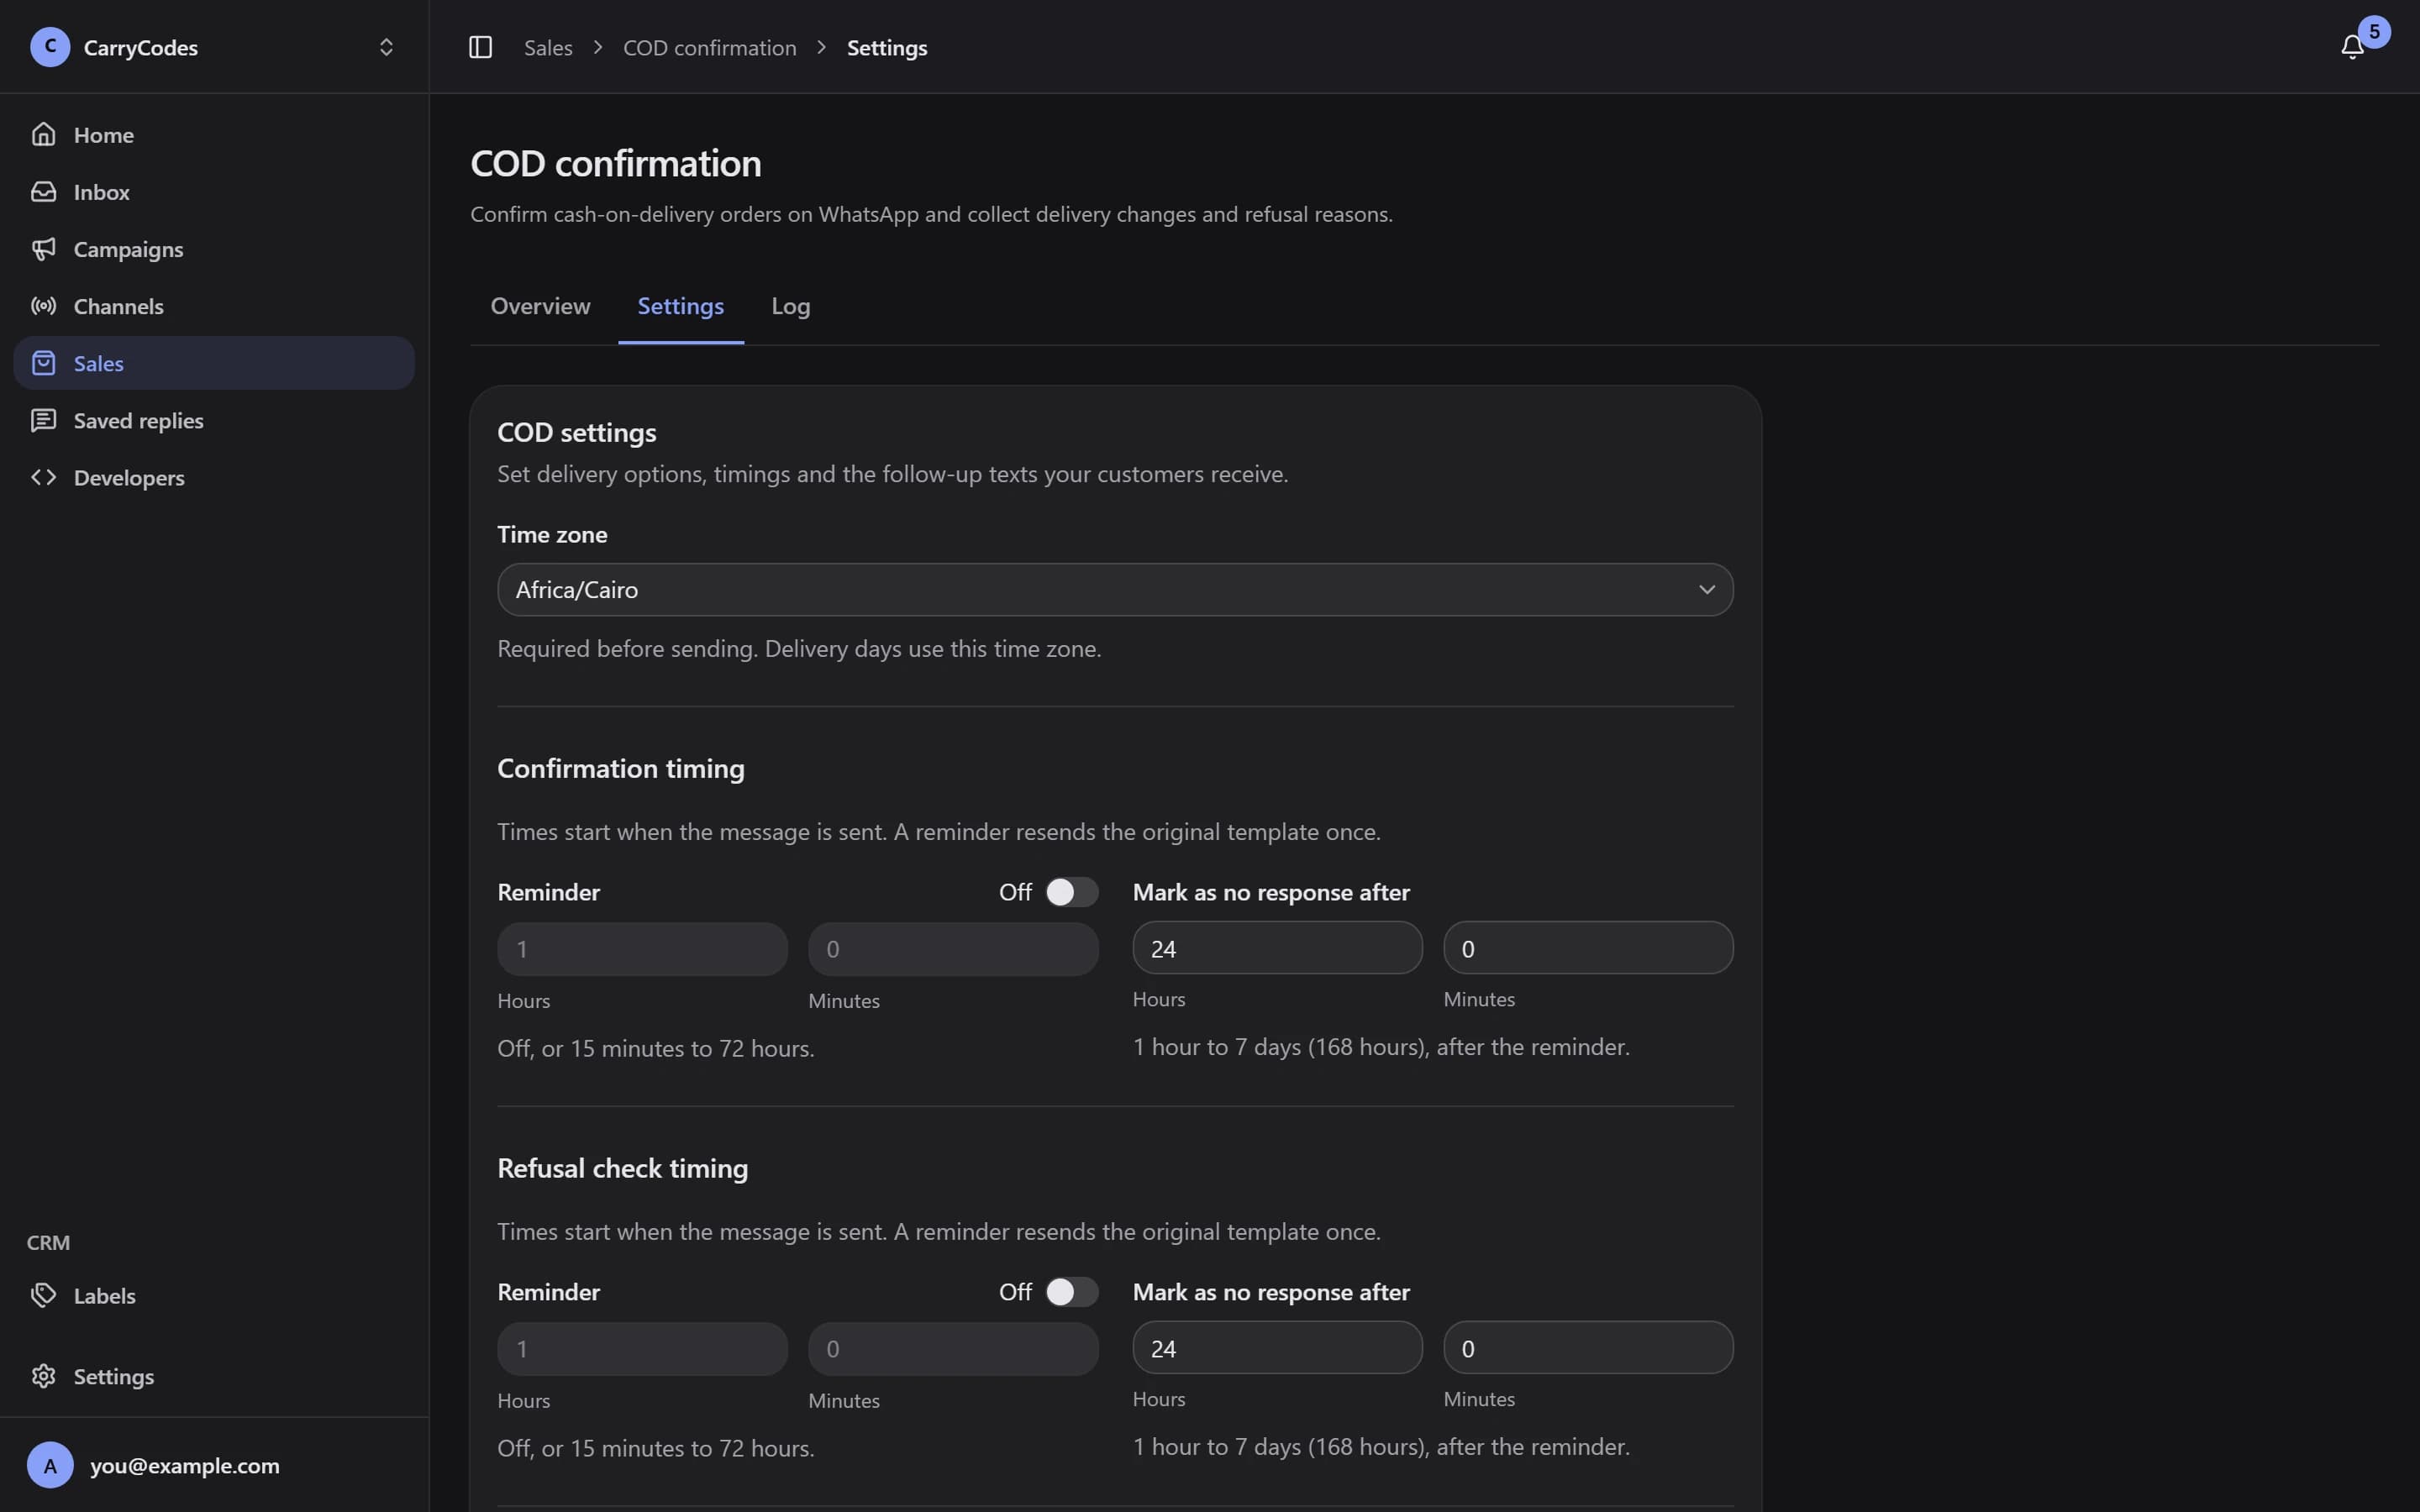
Set the timing and delivery choices your customer will receive.
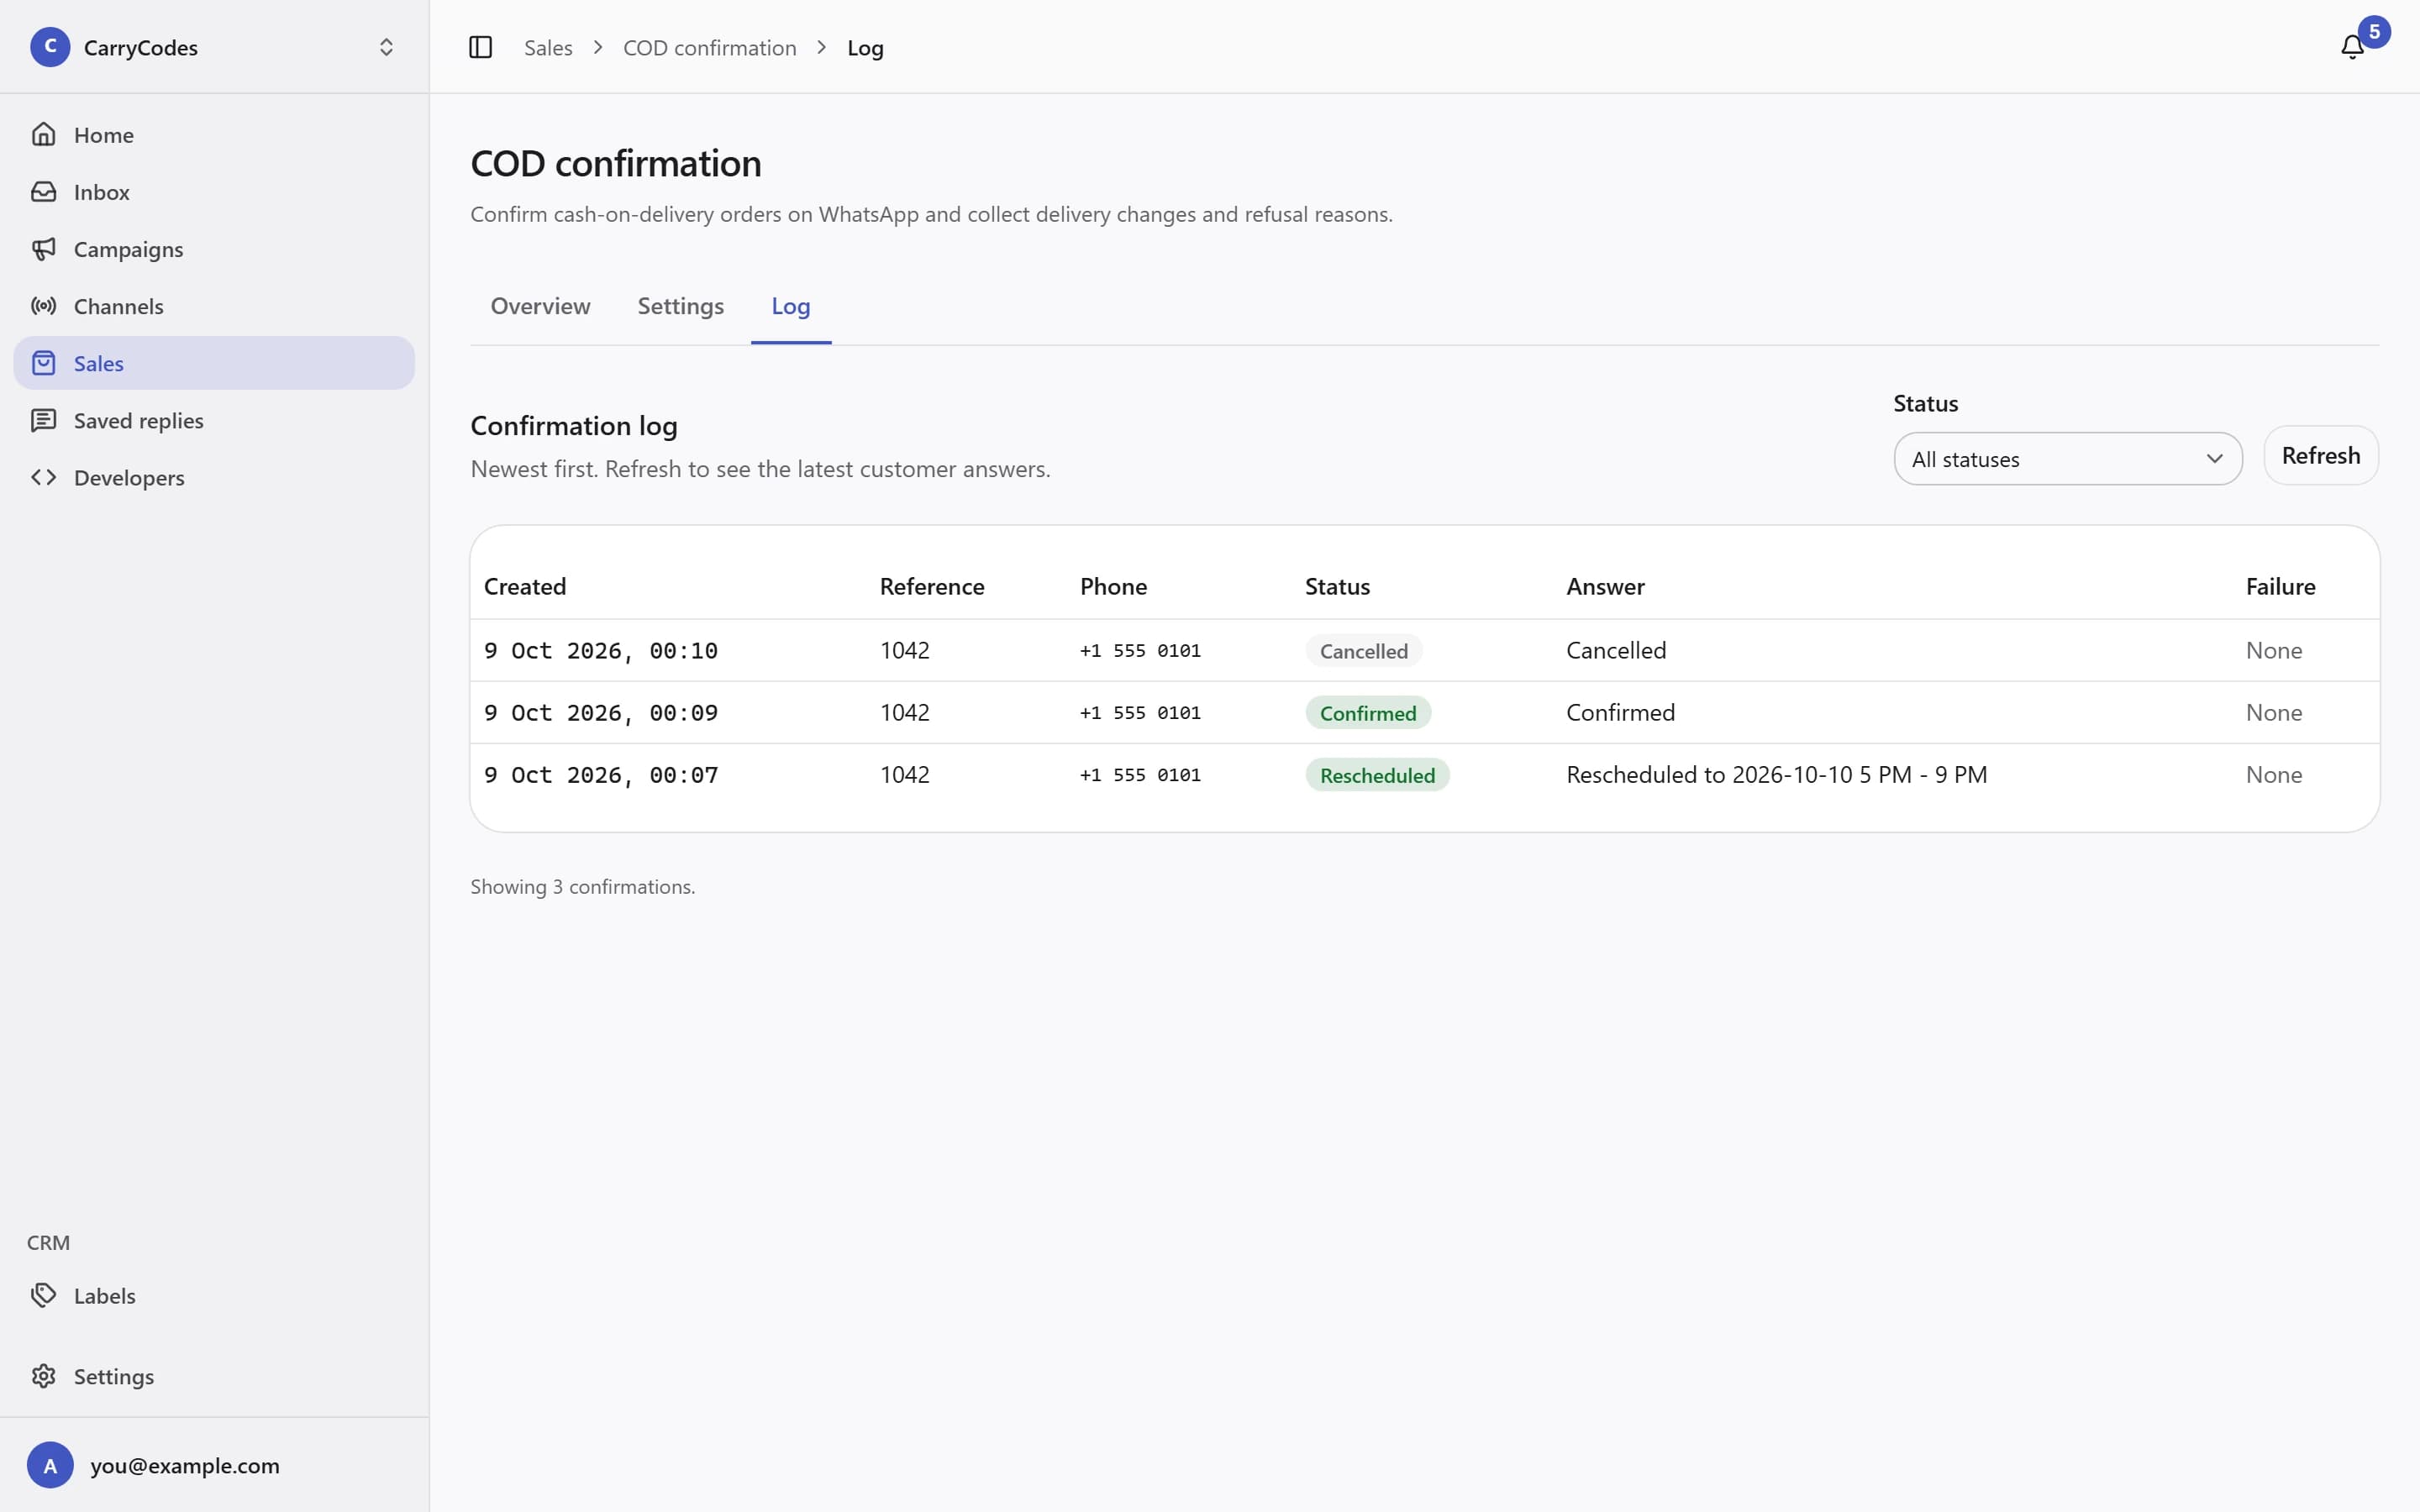
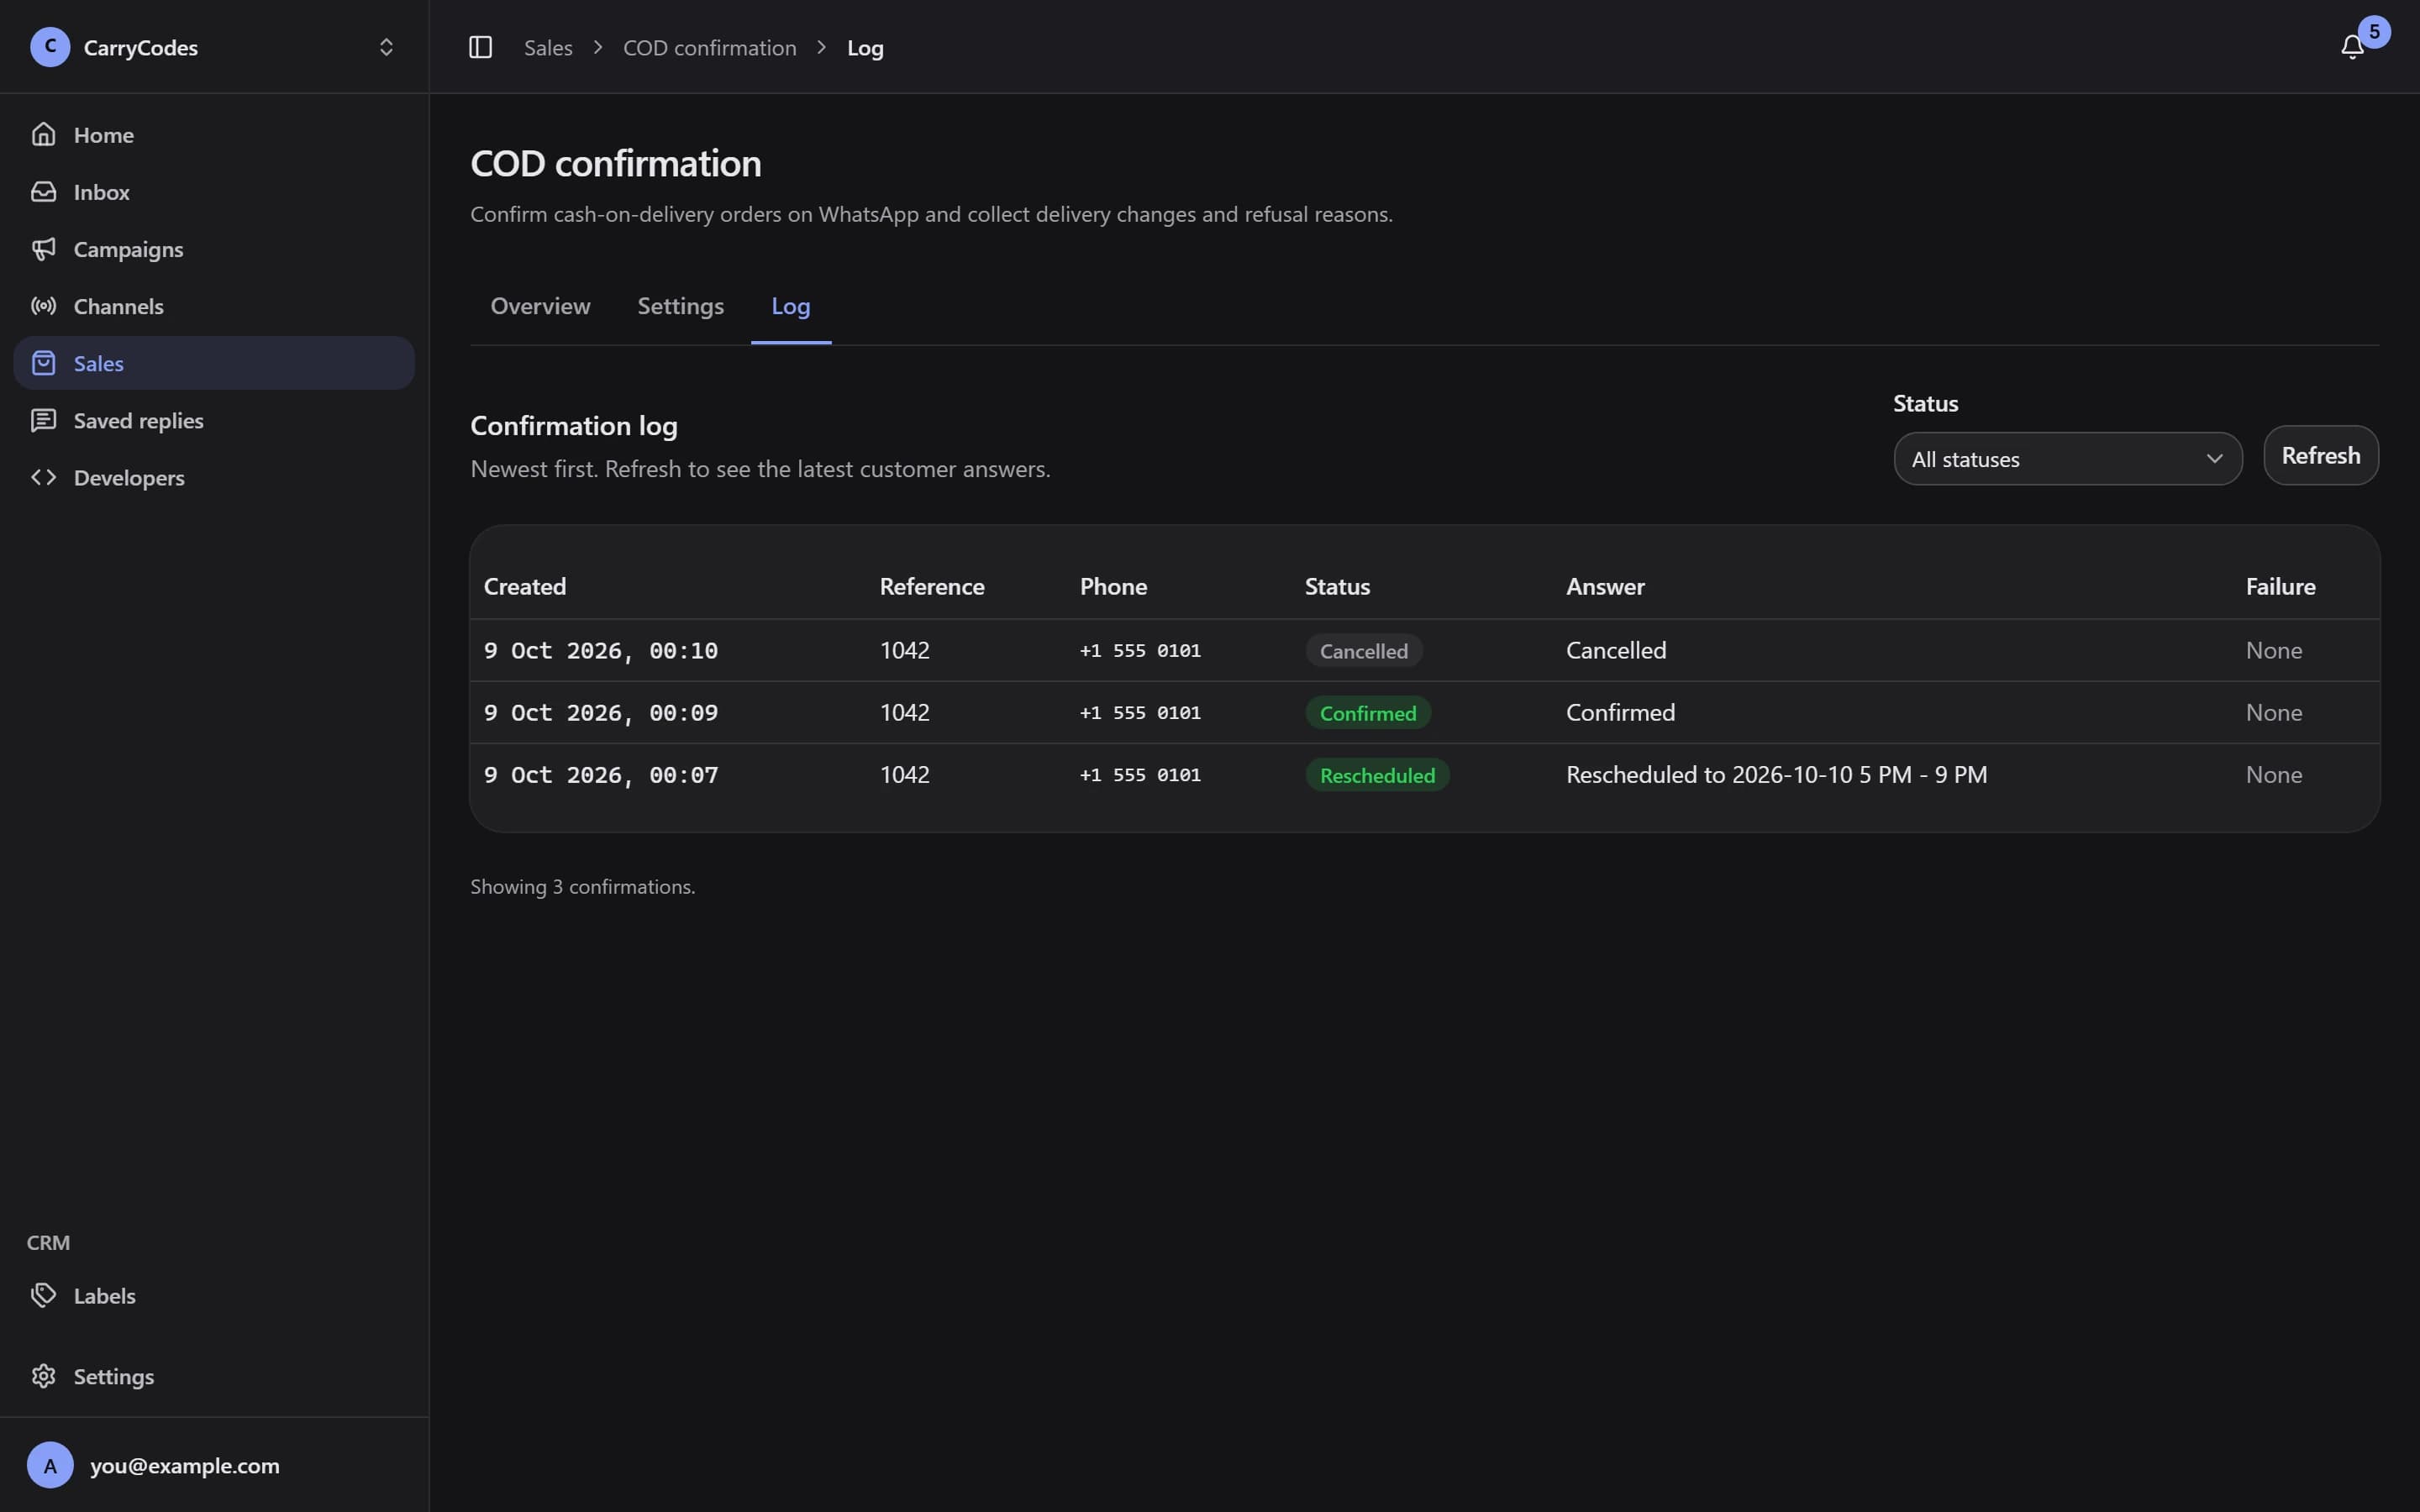
The answer stays alongside the order reference in Log.
This is an API integration, not a manual order-entry tool. Your team manages settings and reviews answers in the dashboard.
Support teams
Whose turn is the next reply?
A customer asks about their order. A teammate knows the background. You are picking up the conversation. Start with the message, its owner, and the context together.
Pick up the conversation.
Open Unassigned and use Assign to me. Mine keeps your assigned conversations together when your permissions allow it.
Bring the team context.
Read the private contact notes and shared labels. Choose Assign to… when a teammate should handle the next step.
Make a familiar answer your own.
Type / and a shortcut to insert a shared saved reply as a draft. Fill its variables, adjust the wording, and send it yourself.
Close the loop.
Use Resolve when the conversation is finished. A new message from the customer reopens it automatically.
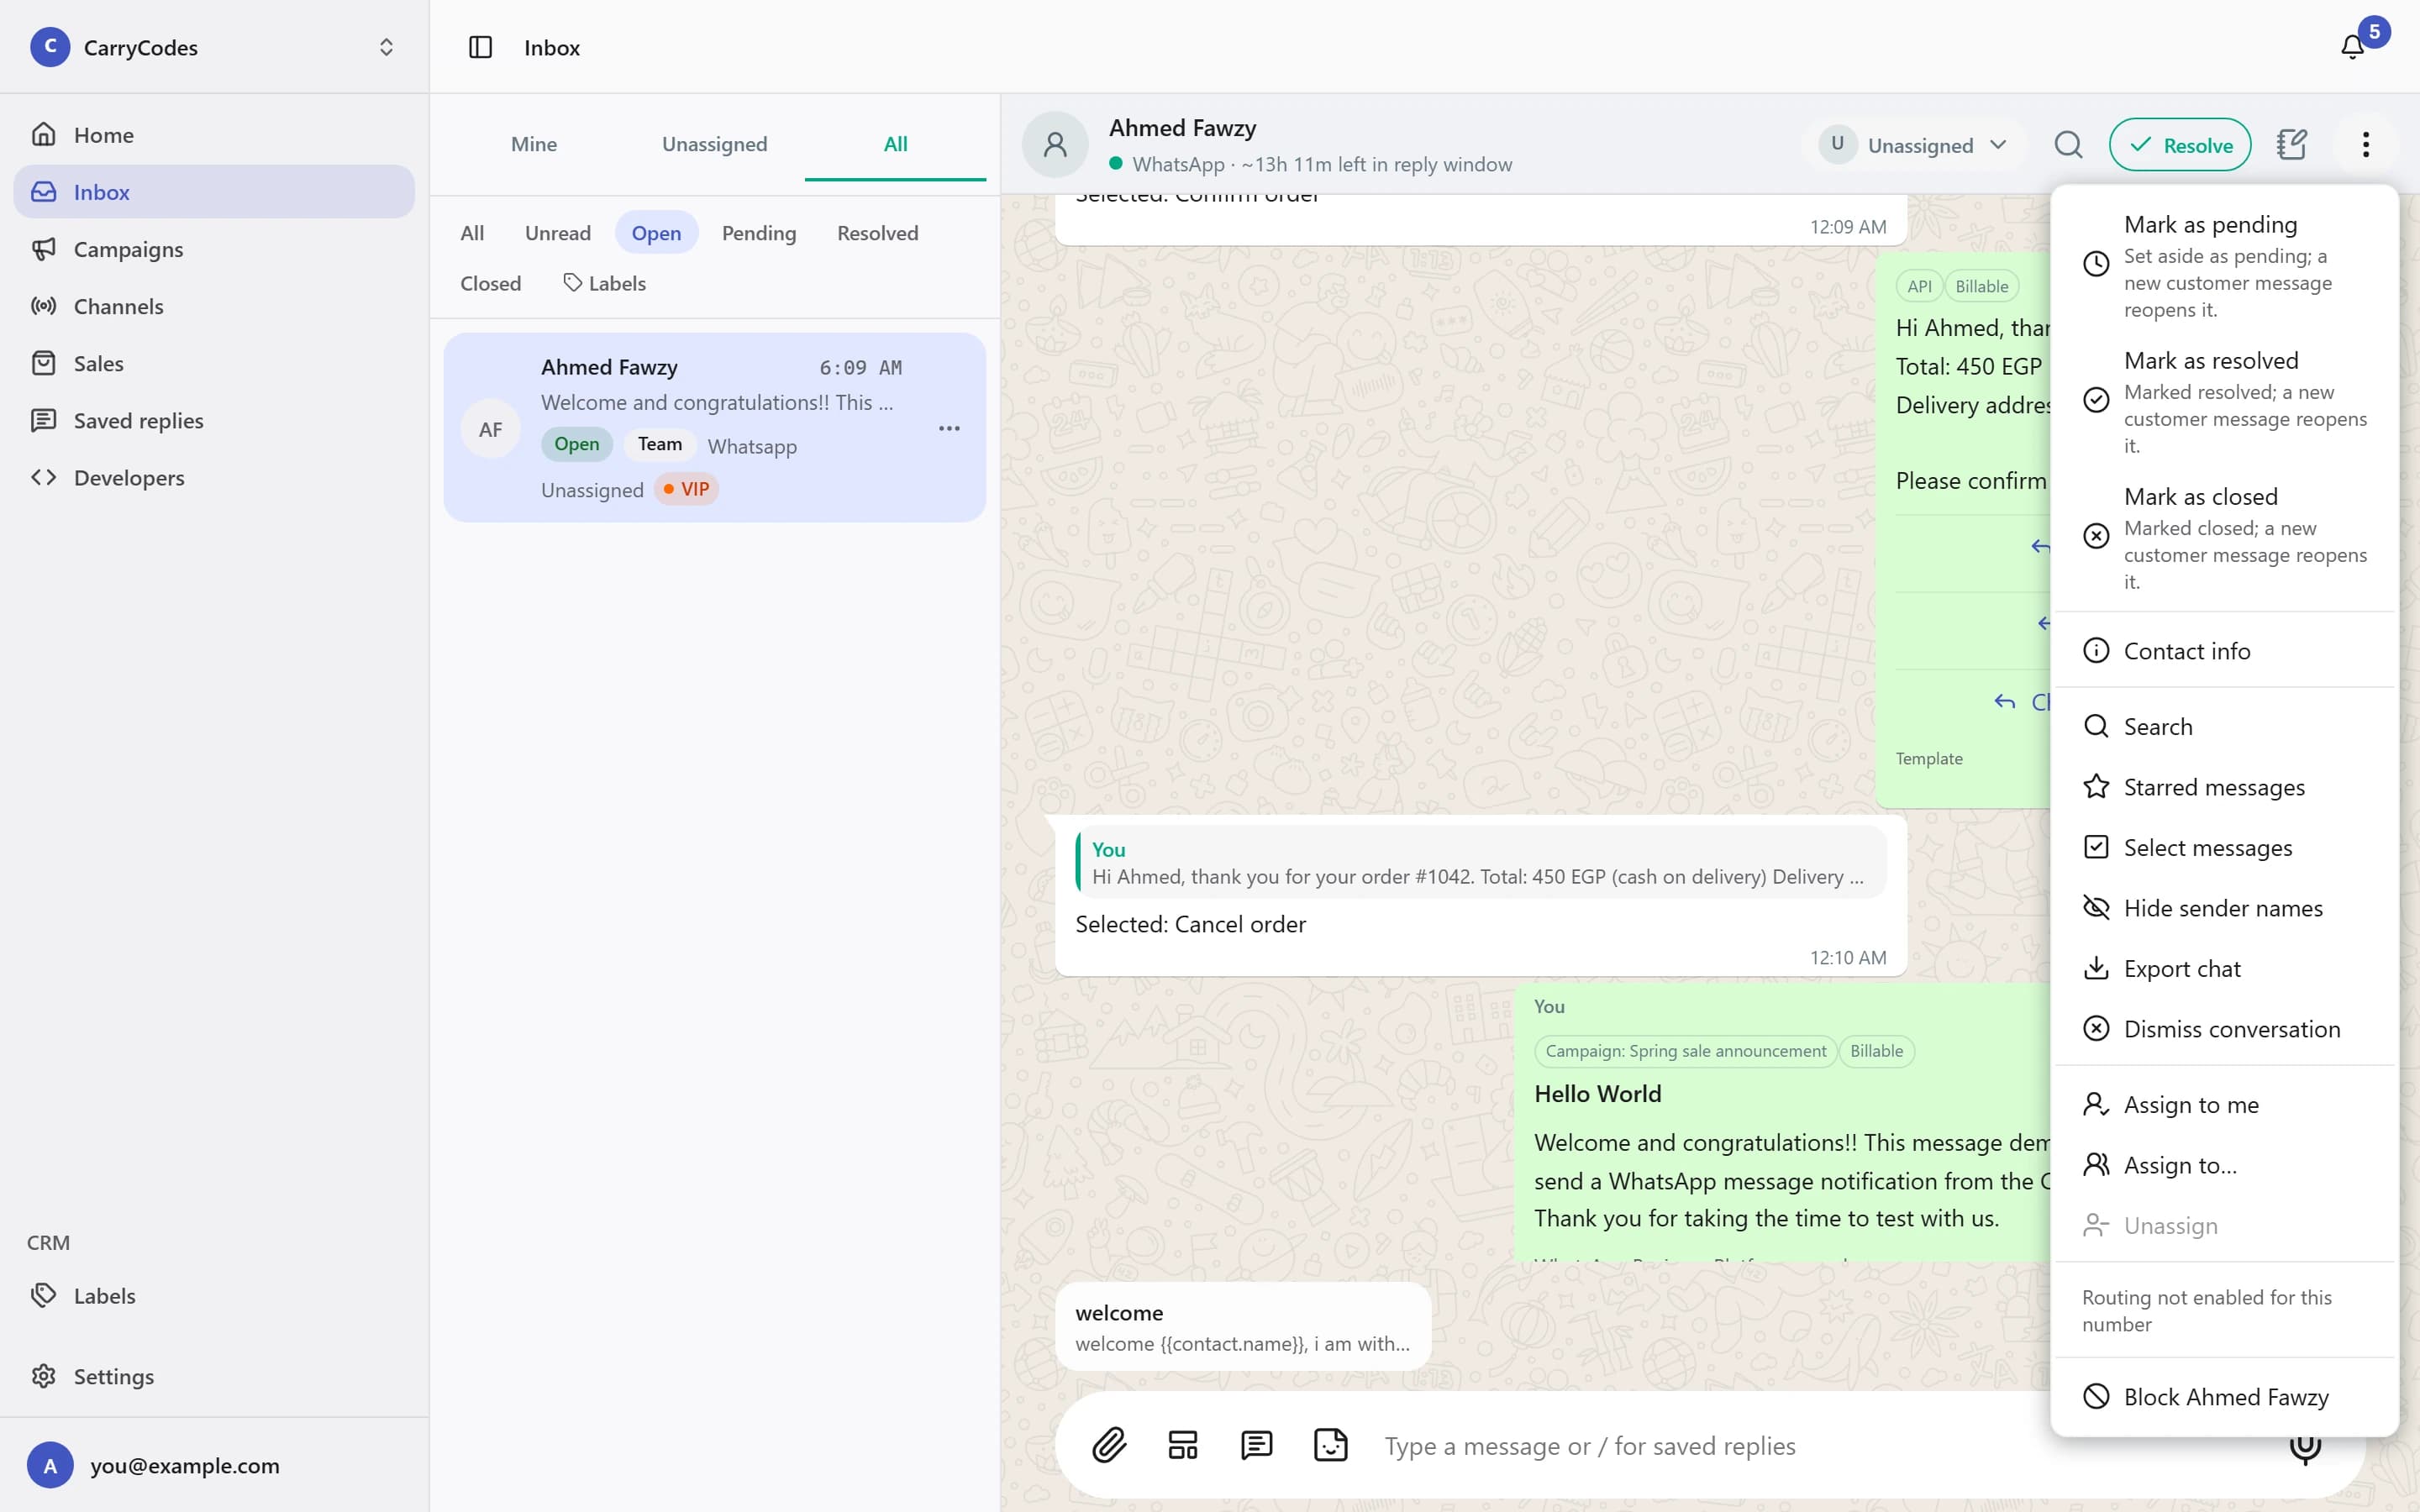
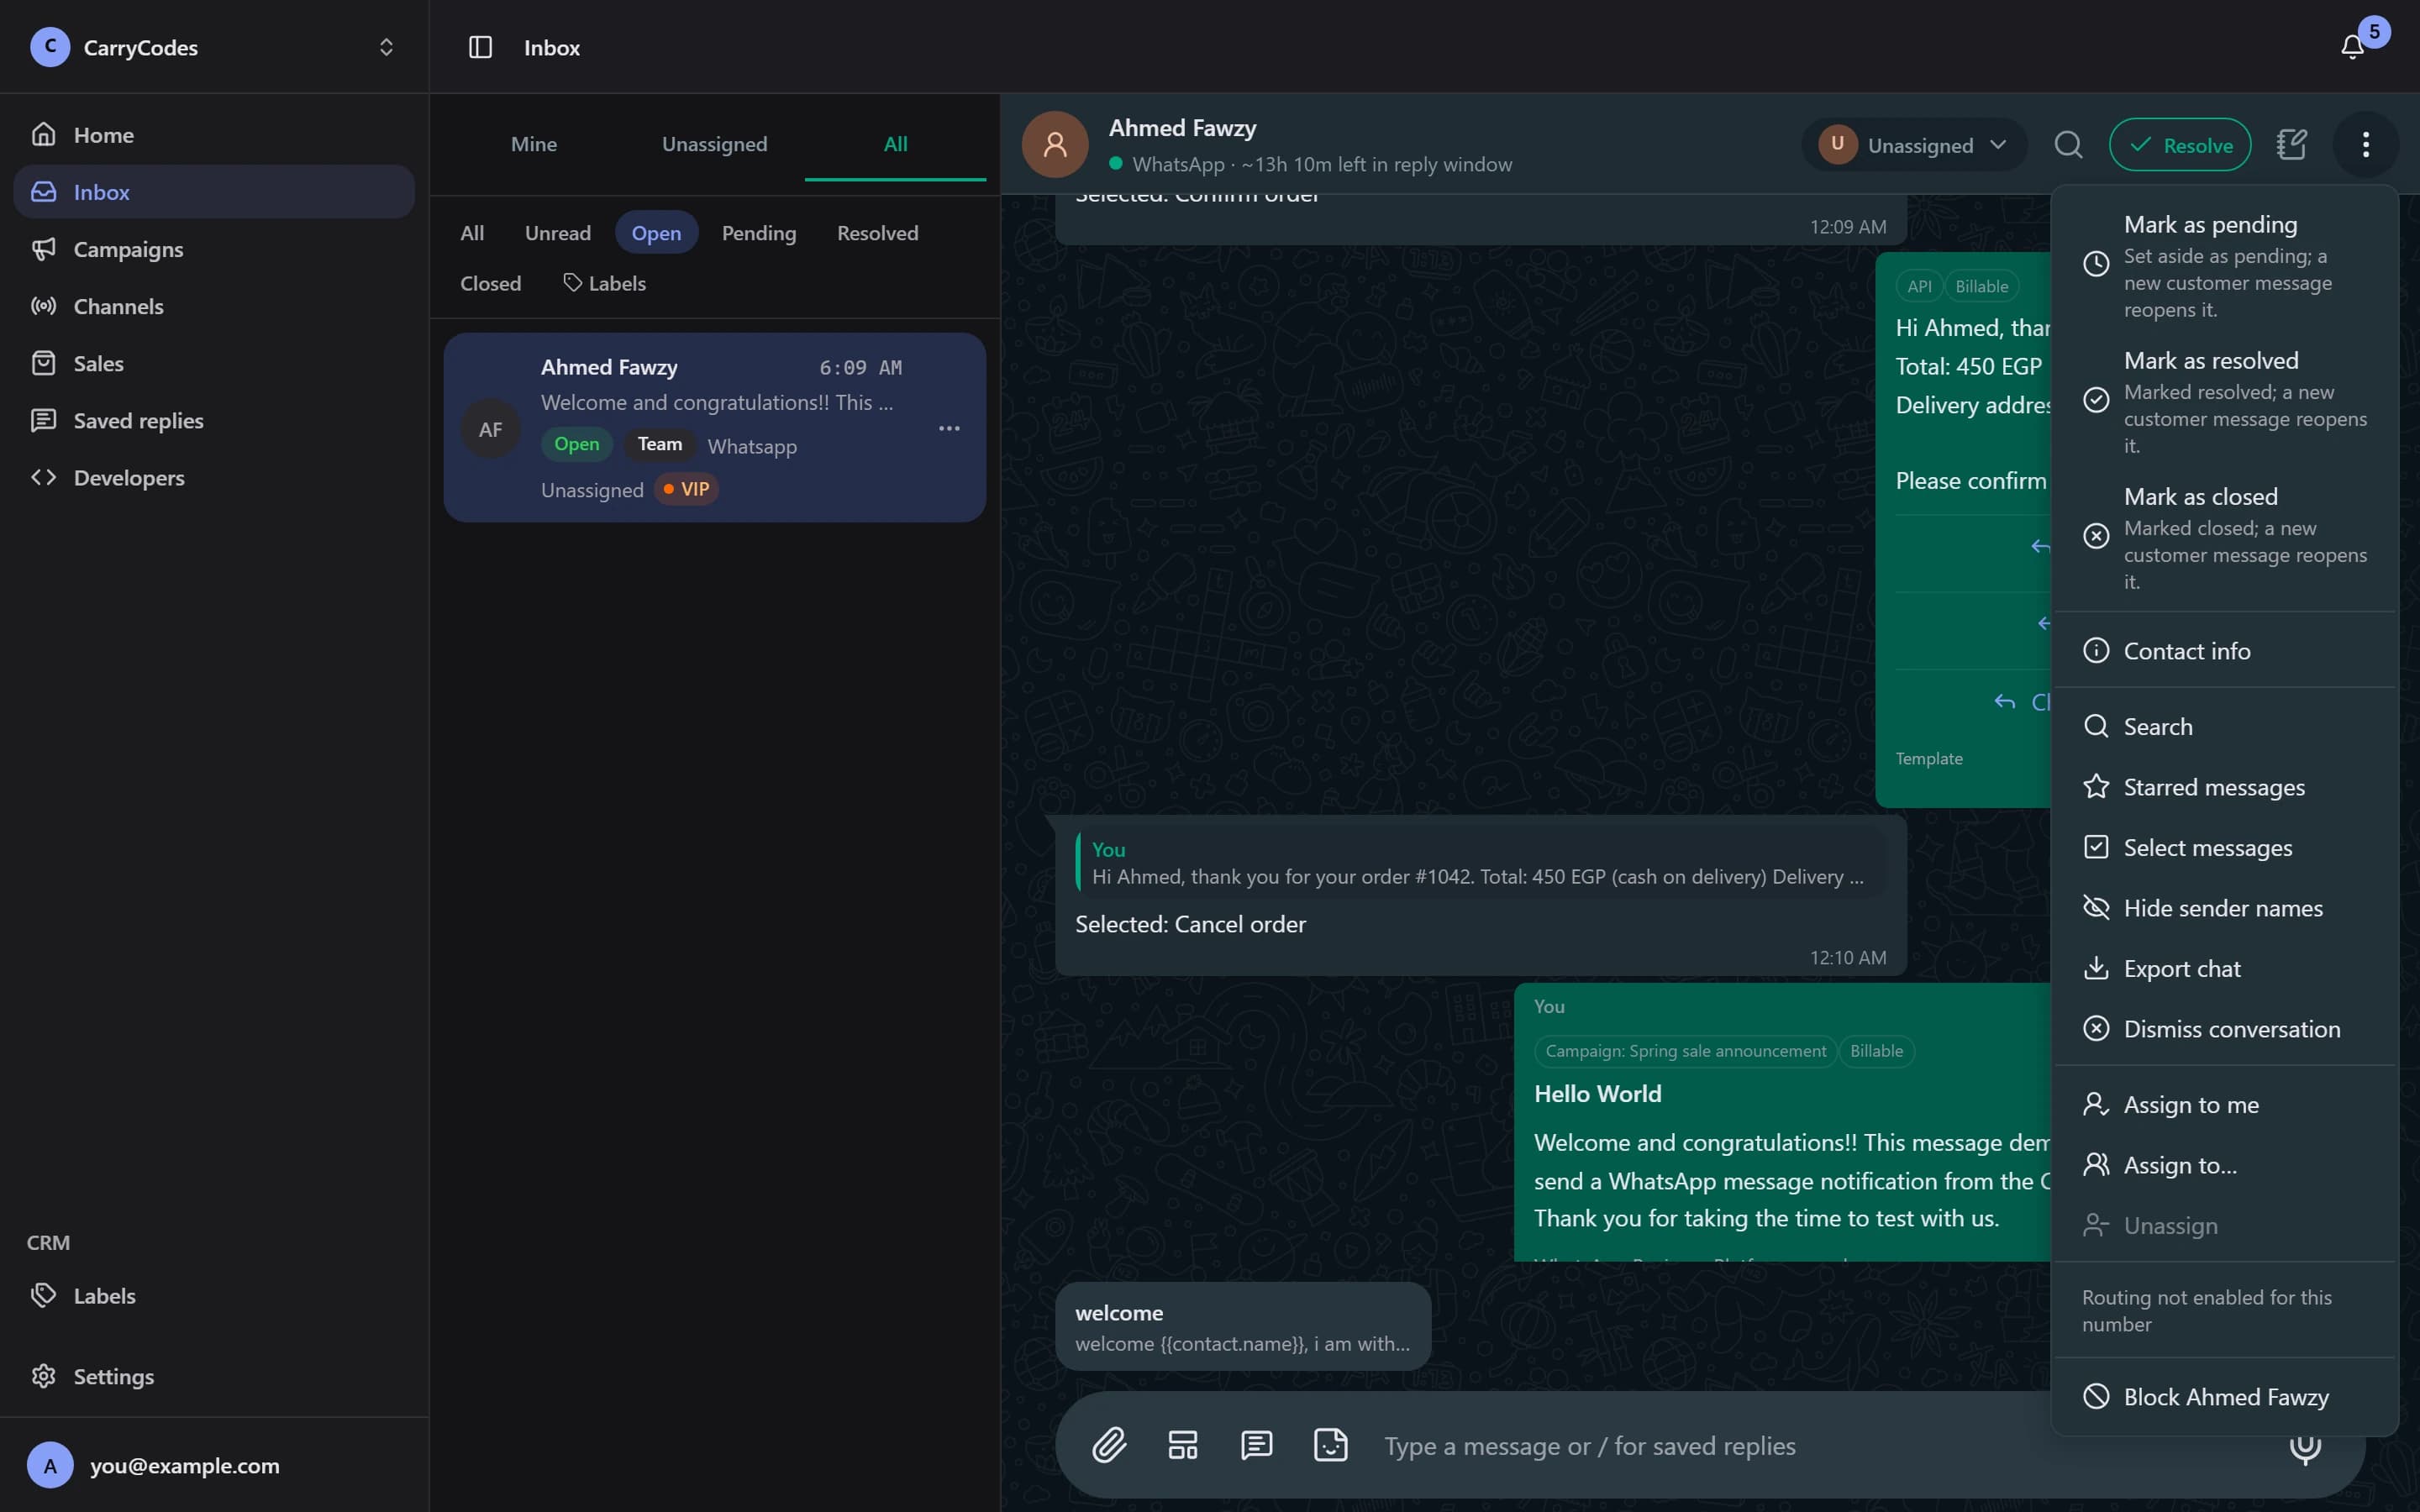
Queues and assignment give the next reply an owner.
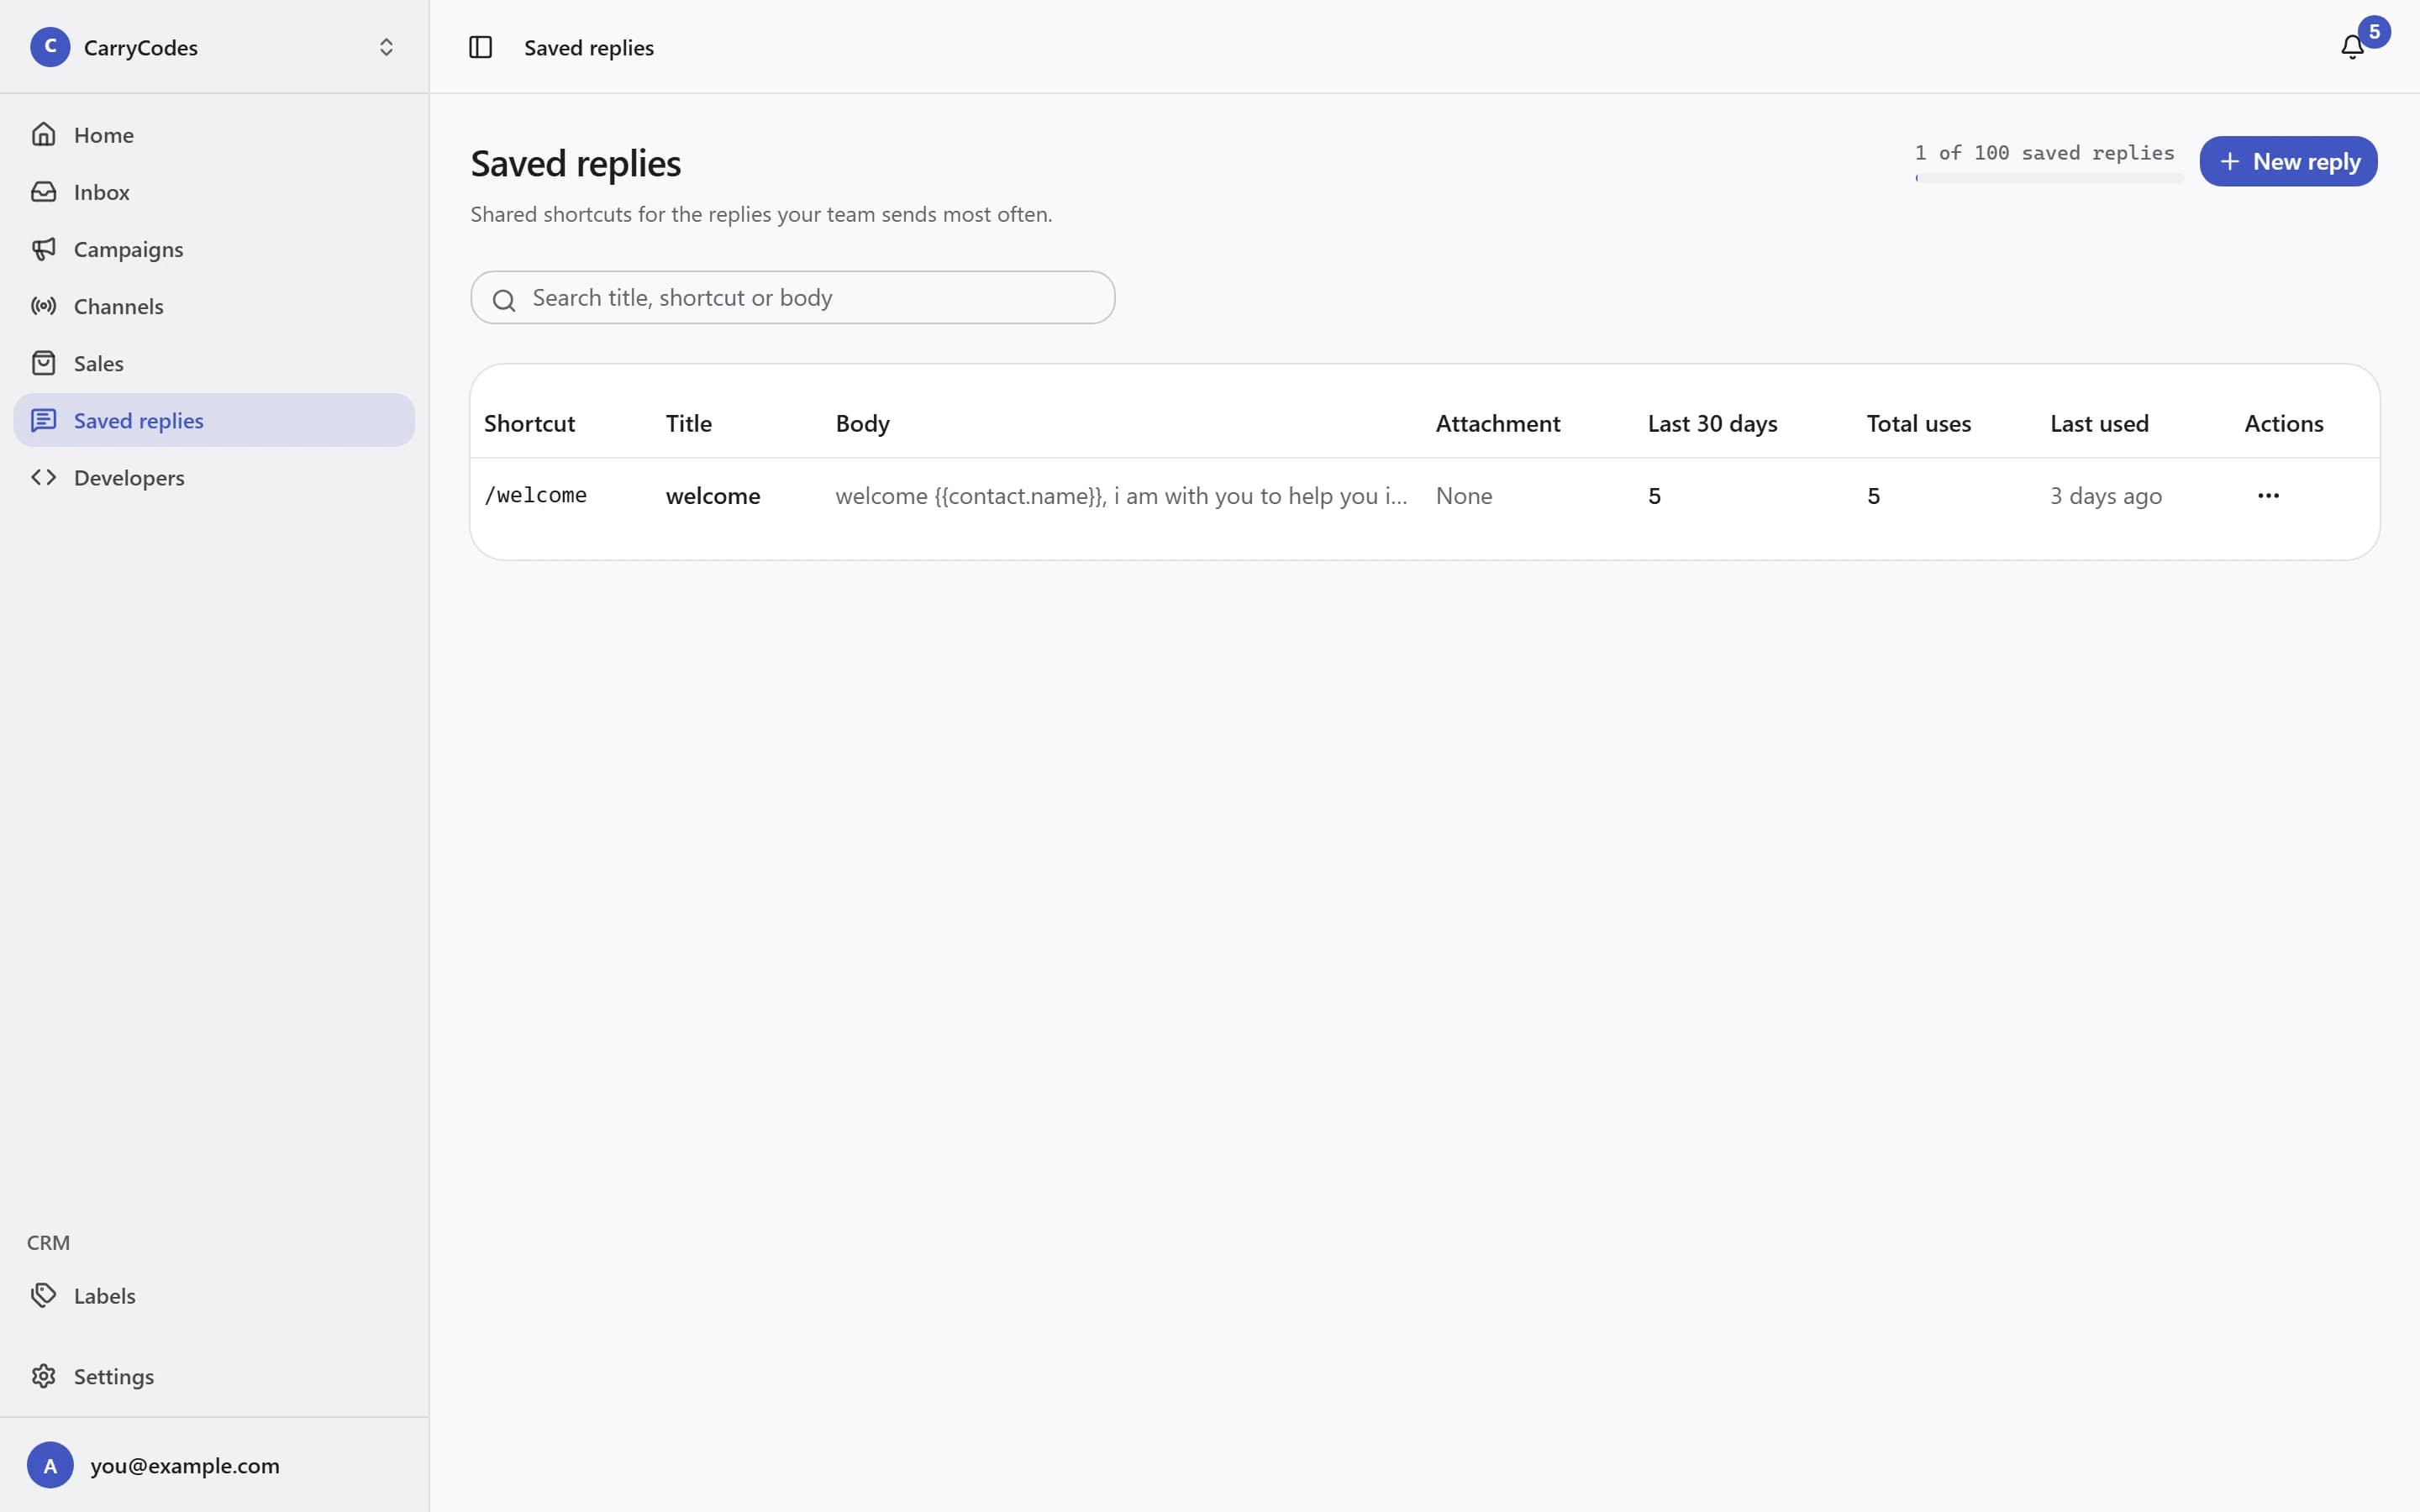
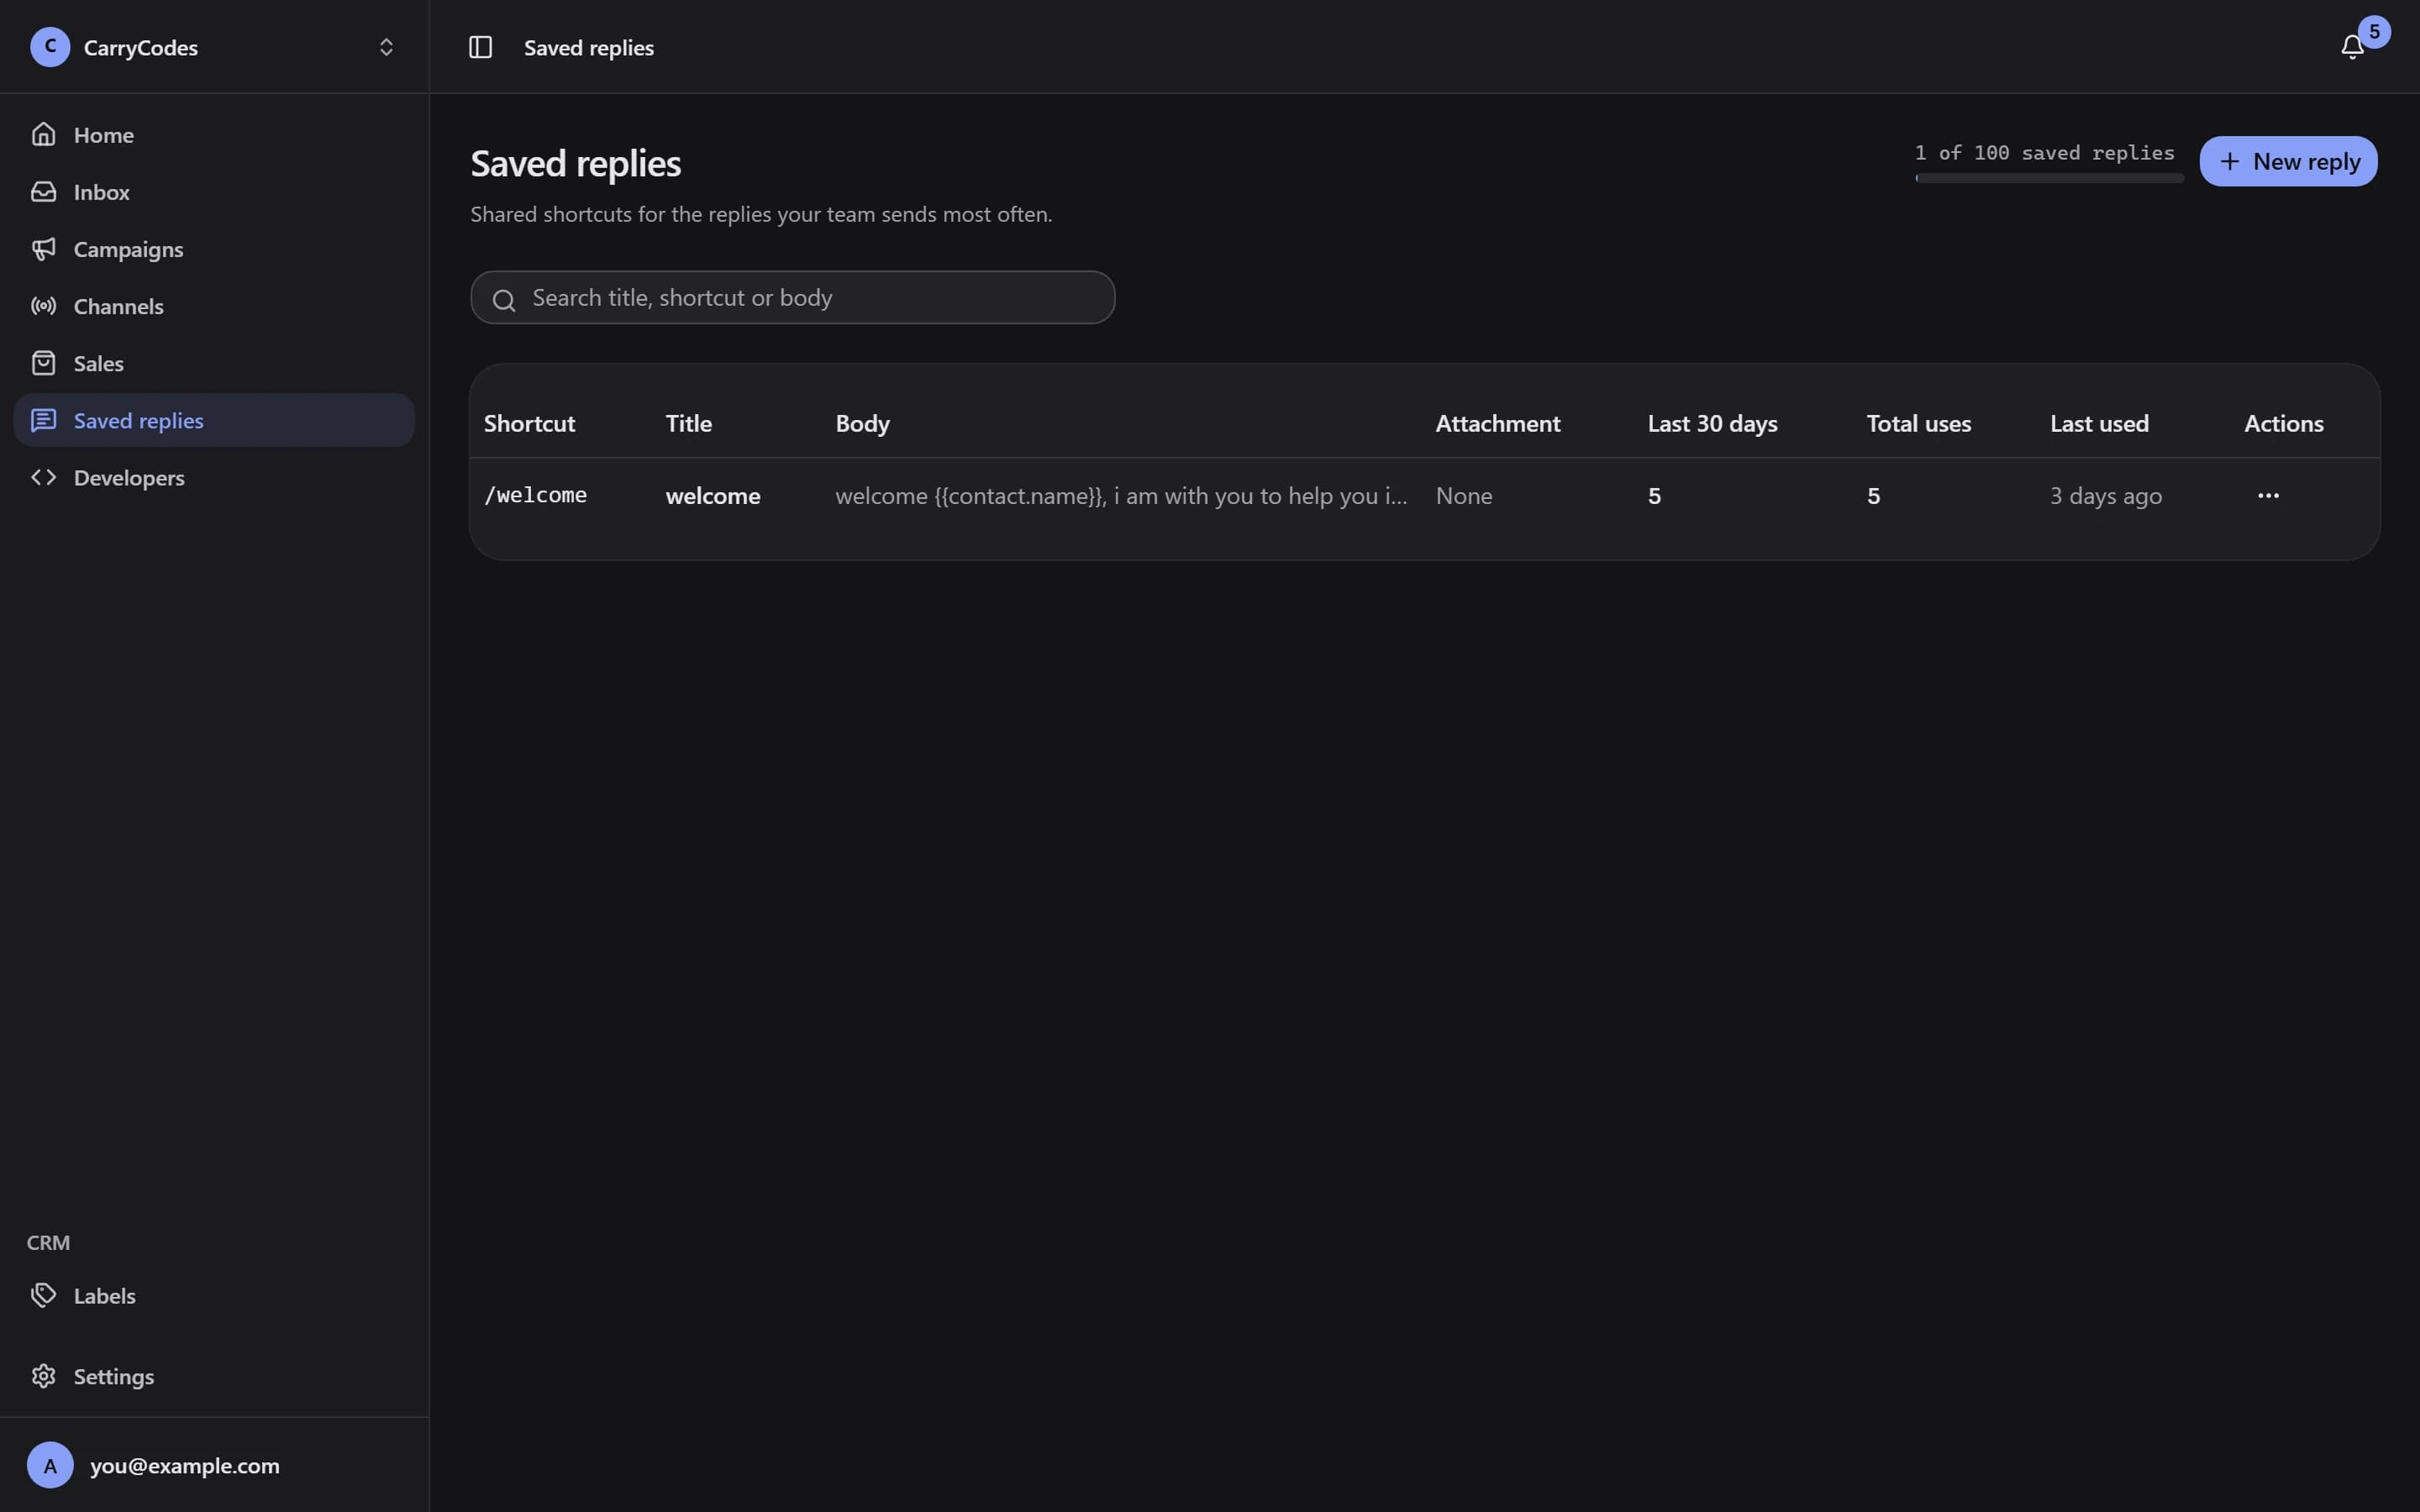
A shared starting point for the answers you write often.
Free-form replies need an open customer reply window. Outside it, use an approved template; sending one does not reopen the window.
Marketing / growth
A message worth checking before sending.
You have something to tell your customers. Now comes the careful part: choosing who should receive it, checking the message, and understanding what happened after the send.
Shape the audience.
Use Include labels and Exclude labels, or upload a CSV. For a CSV import, confirm the contacts agreed to receive WhatsApp messages. Review the eligible audience before launch.
Check the message in context.
Choose an approved Marketing or Utility template and fill its variables and fallbacks. Send test sends a real message to an eligible sample and uses campaign quota.
Choose the moment.
Use Schedule campaign for a future send. Pause and Resume are available when you need to manage a campaign.
See what happened.
Read Eligible, Sent, Delivered, Read, and Replied in Delivery report. Inspect the exclusion and failure reasons, rather than treating a send as a delivery.
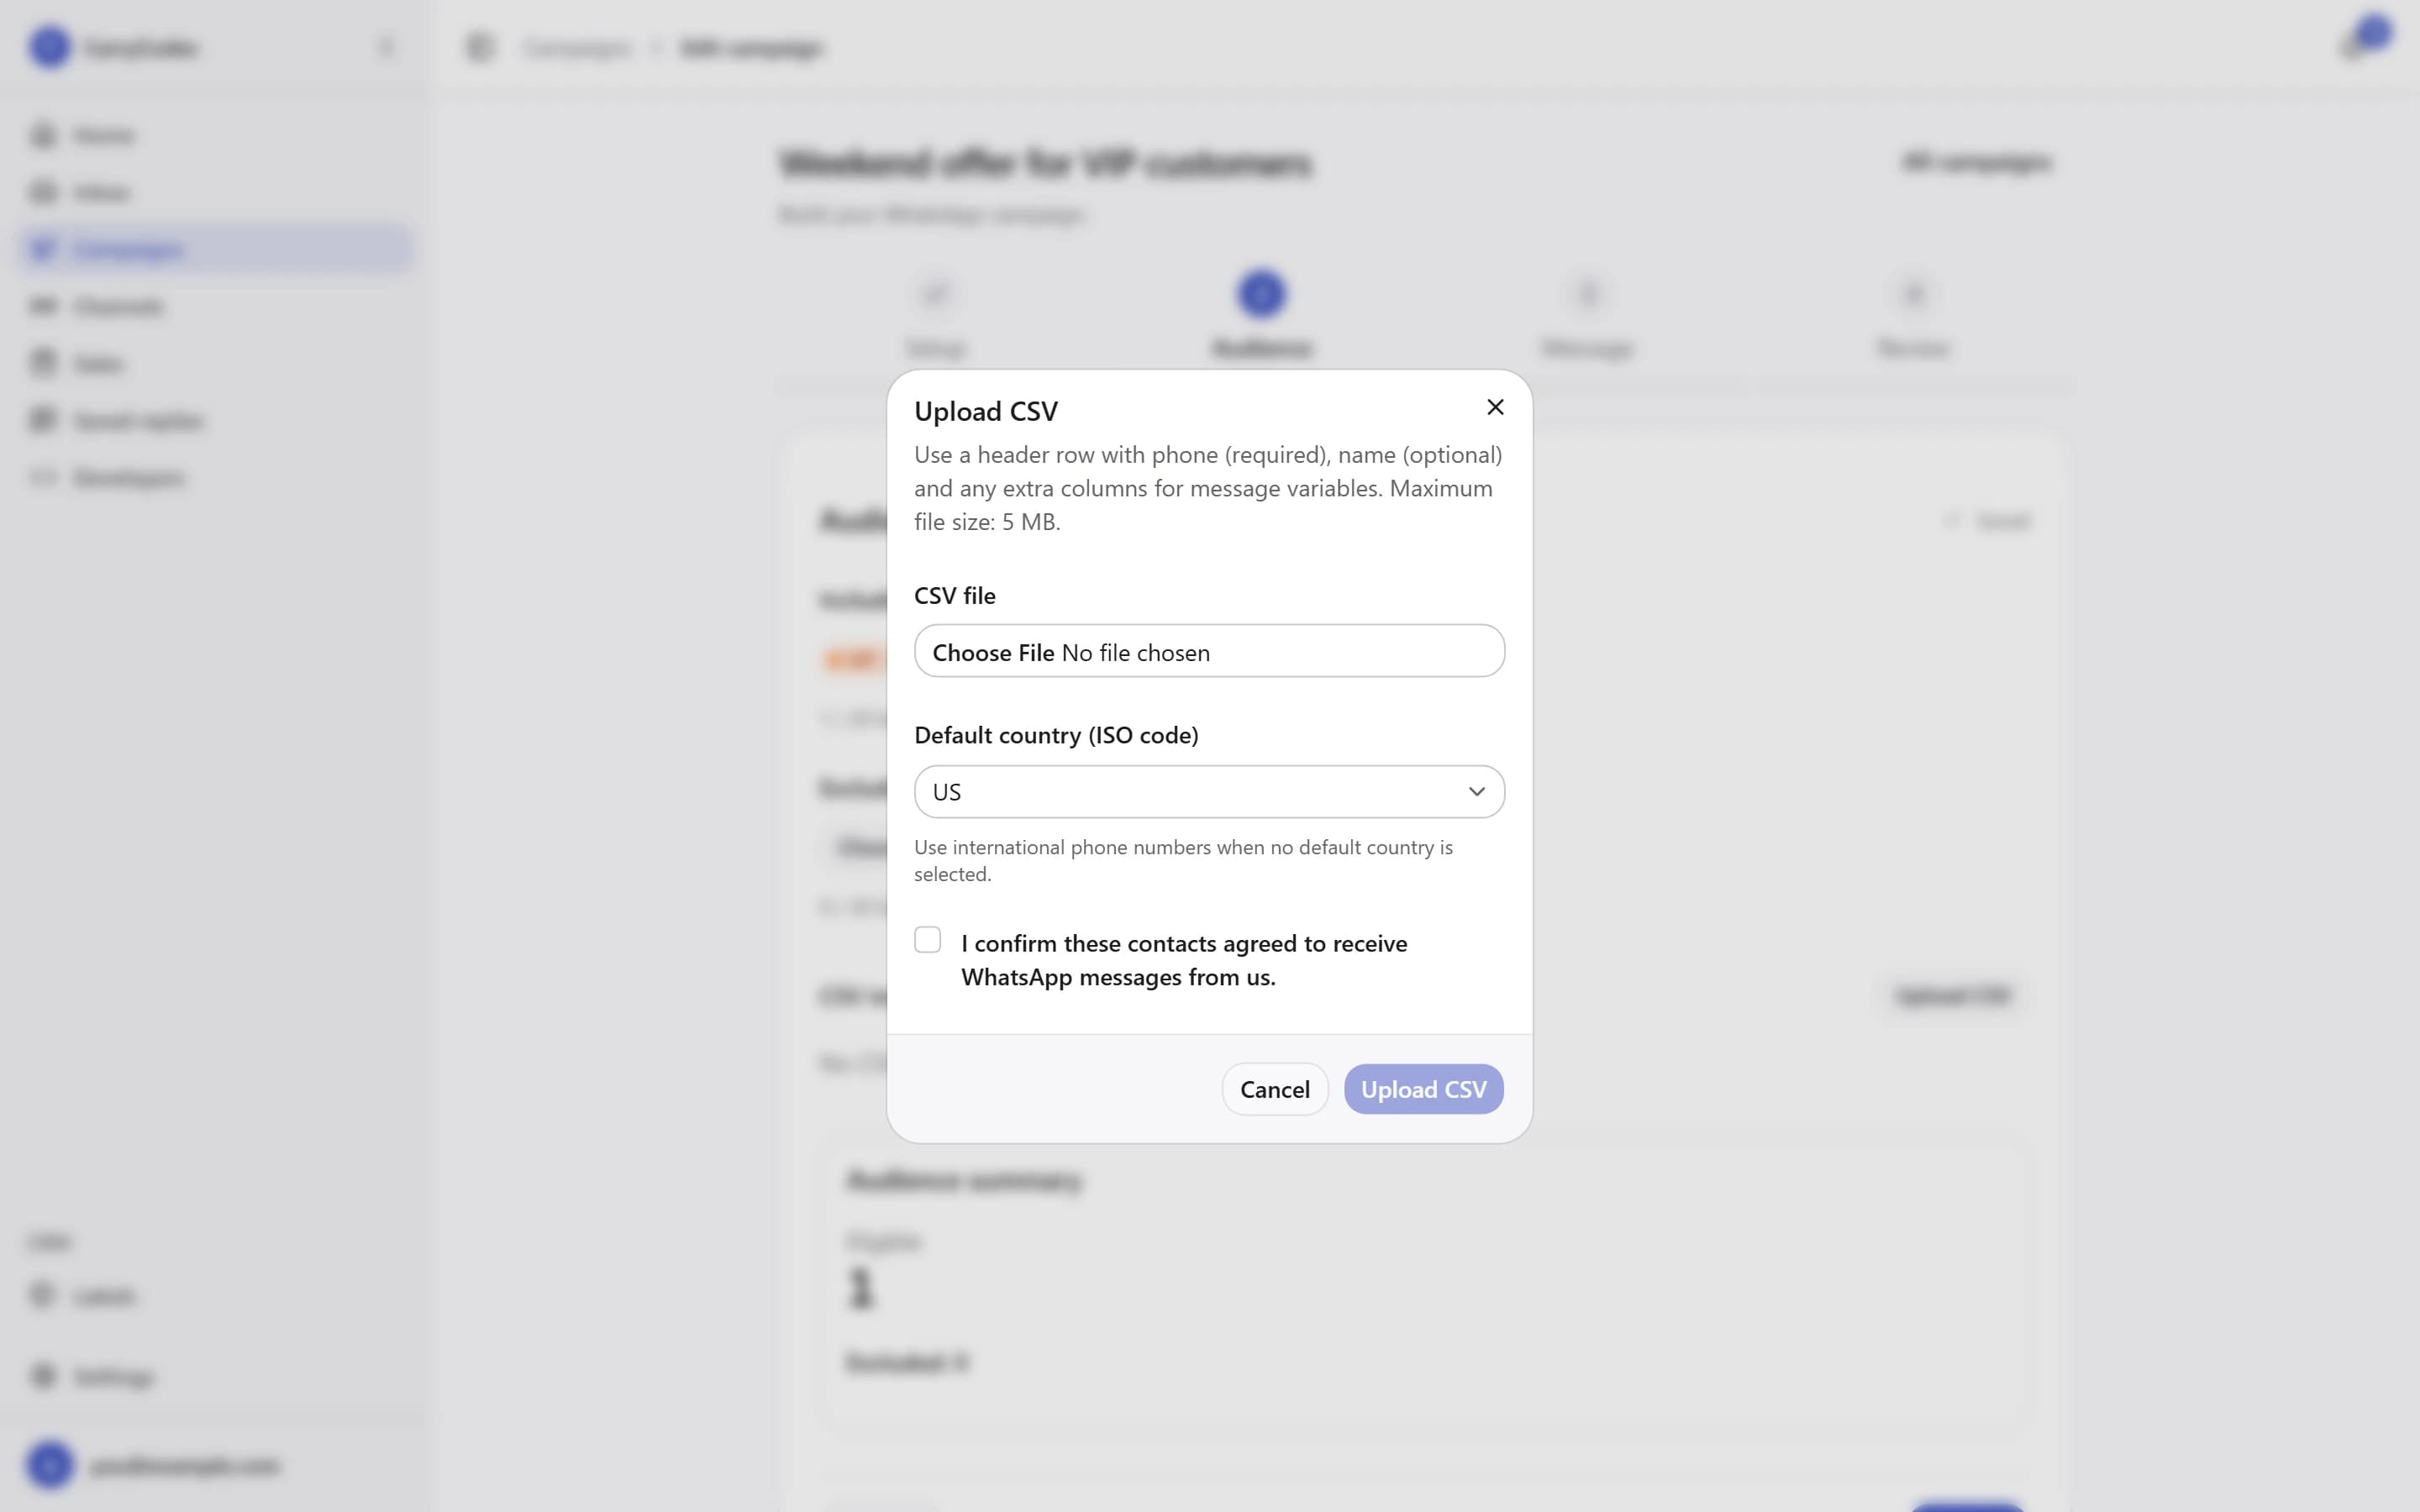
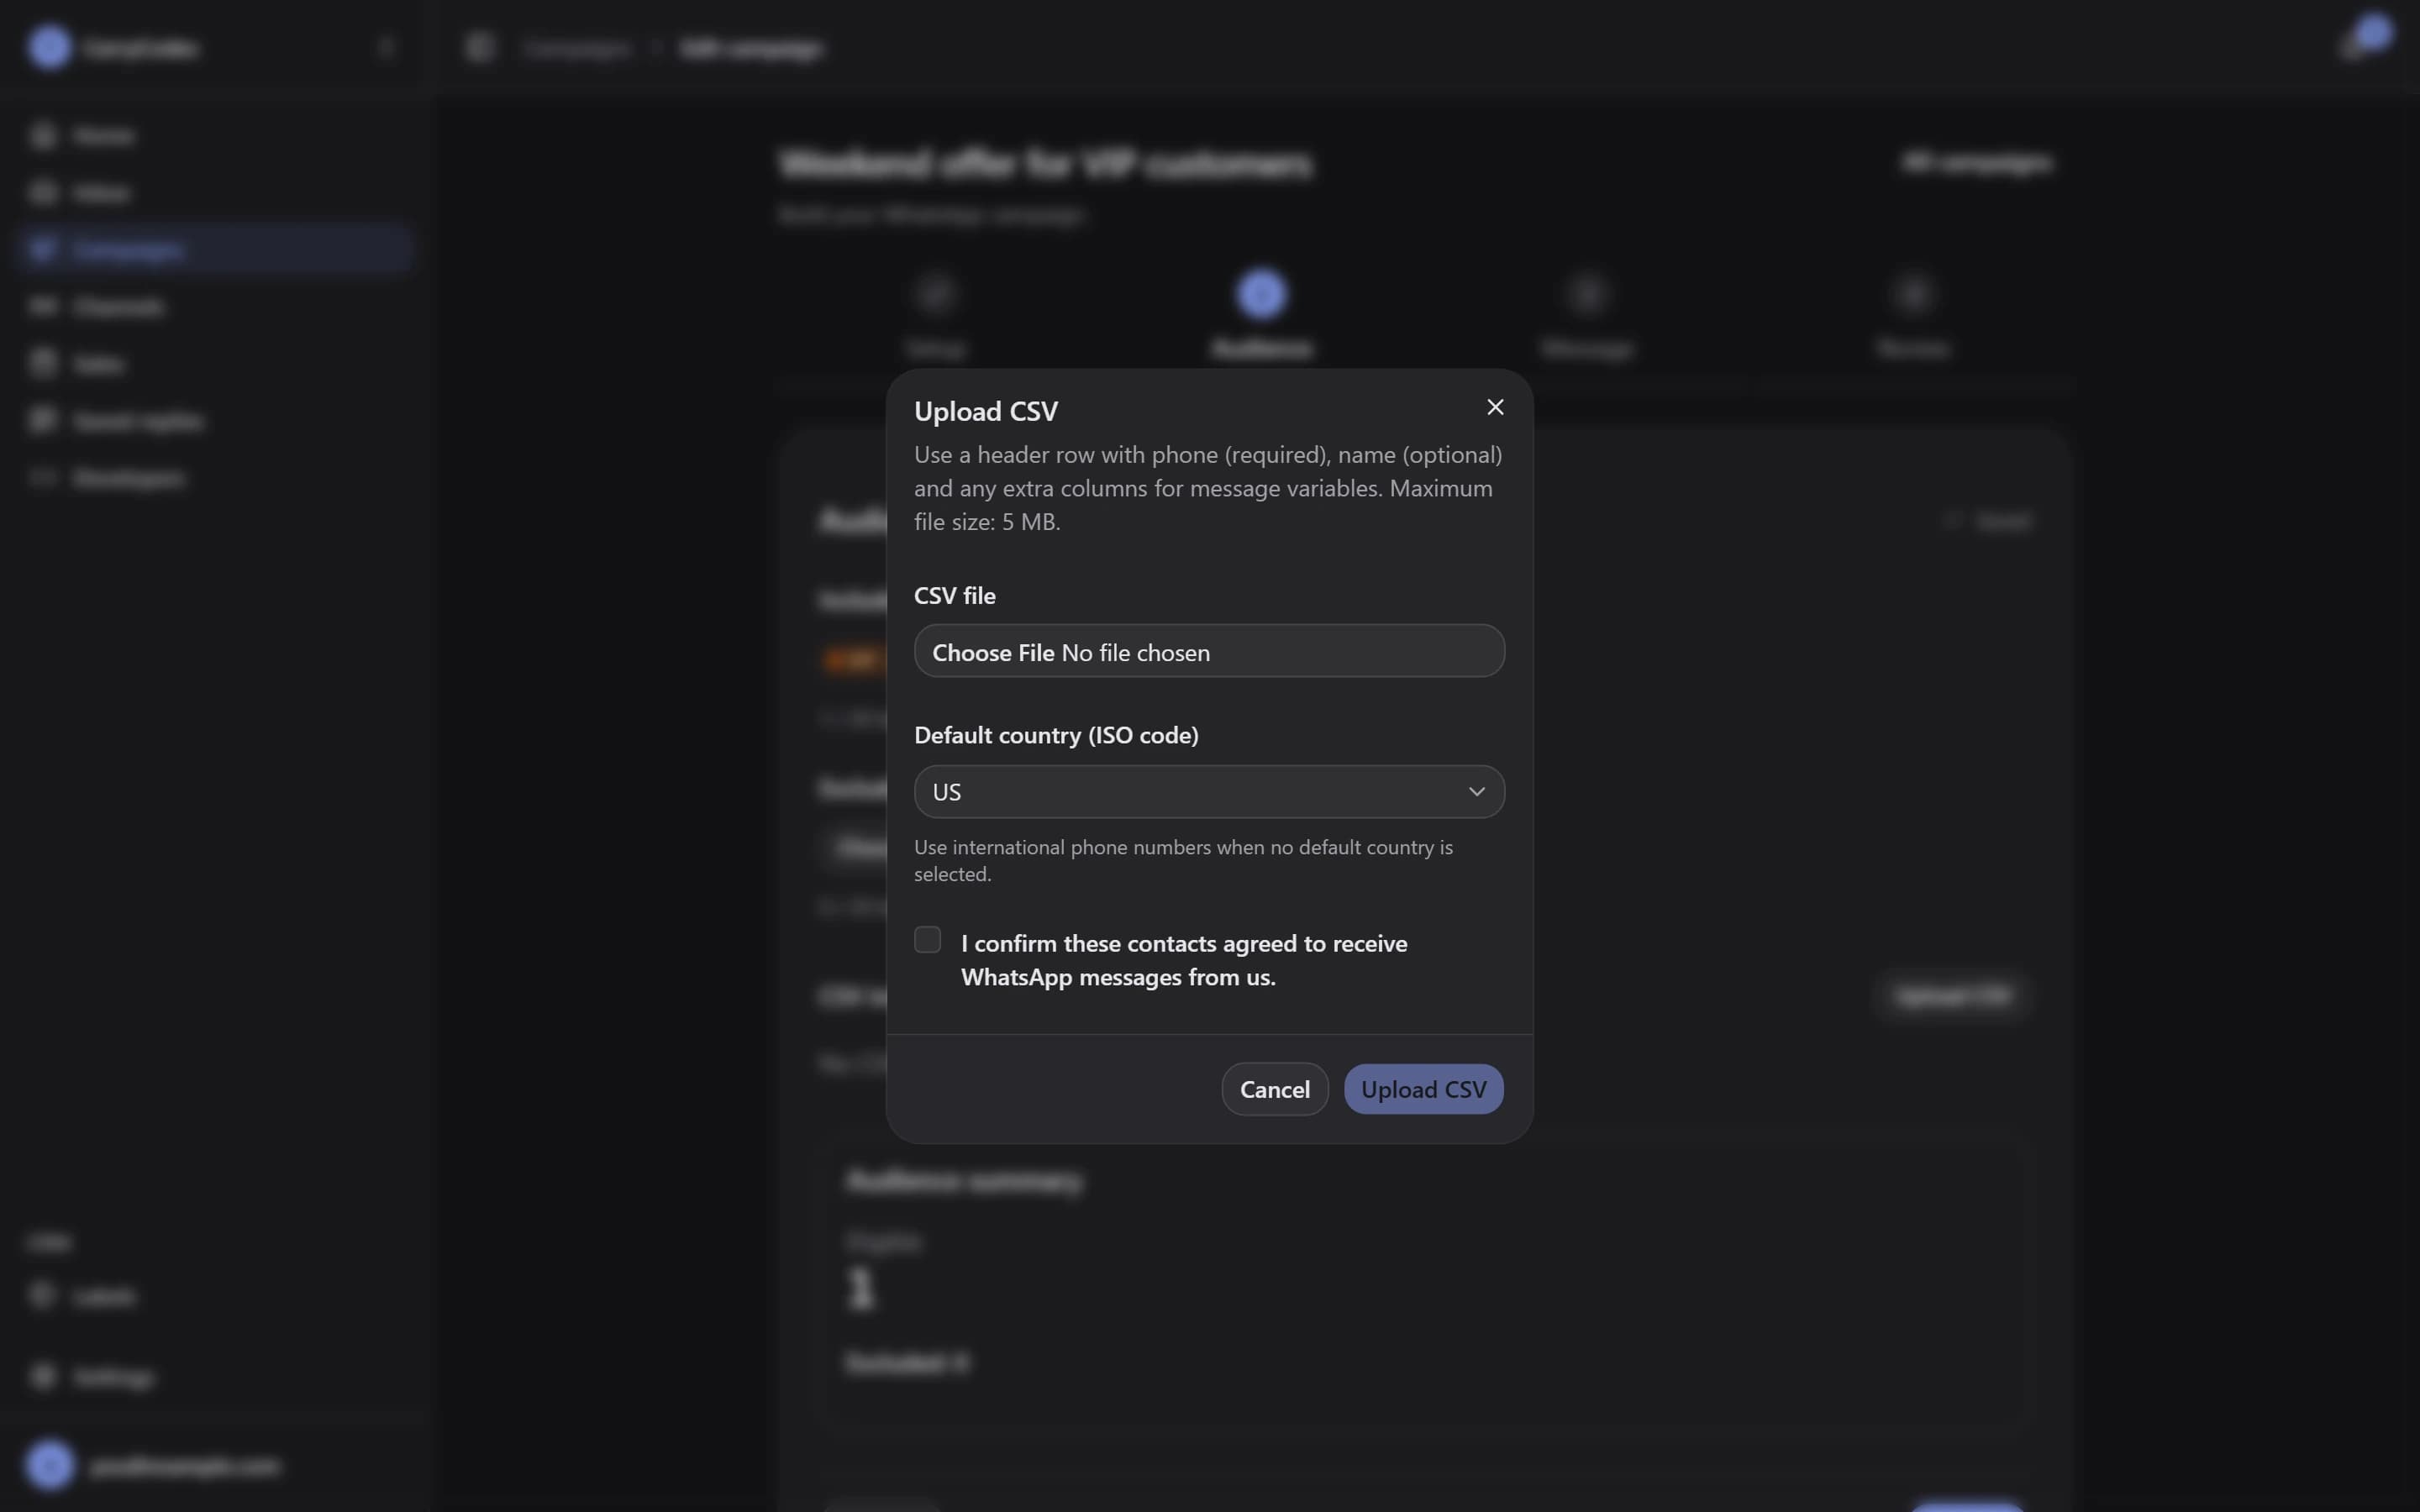
Choose the audience and check eligibility before sending.
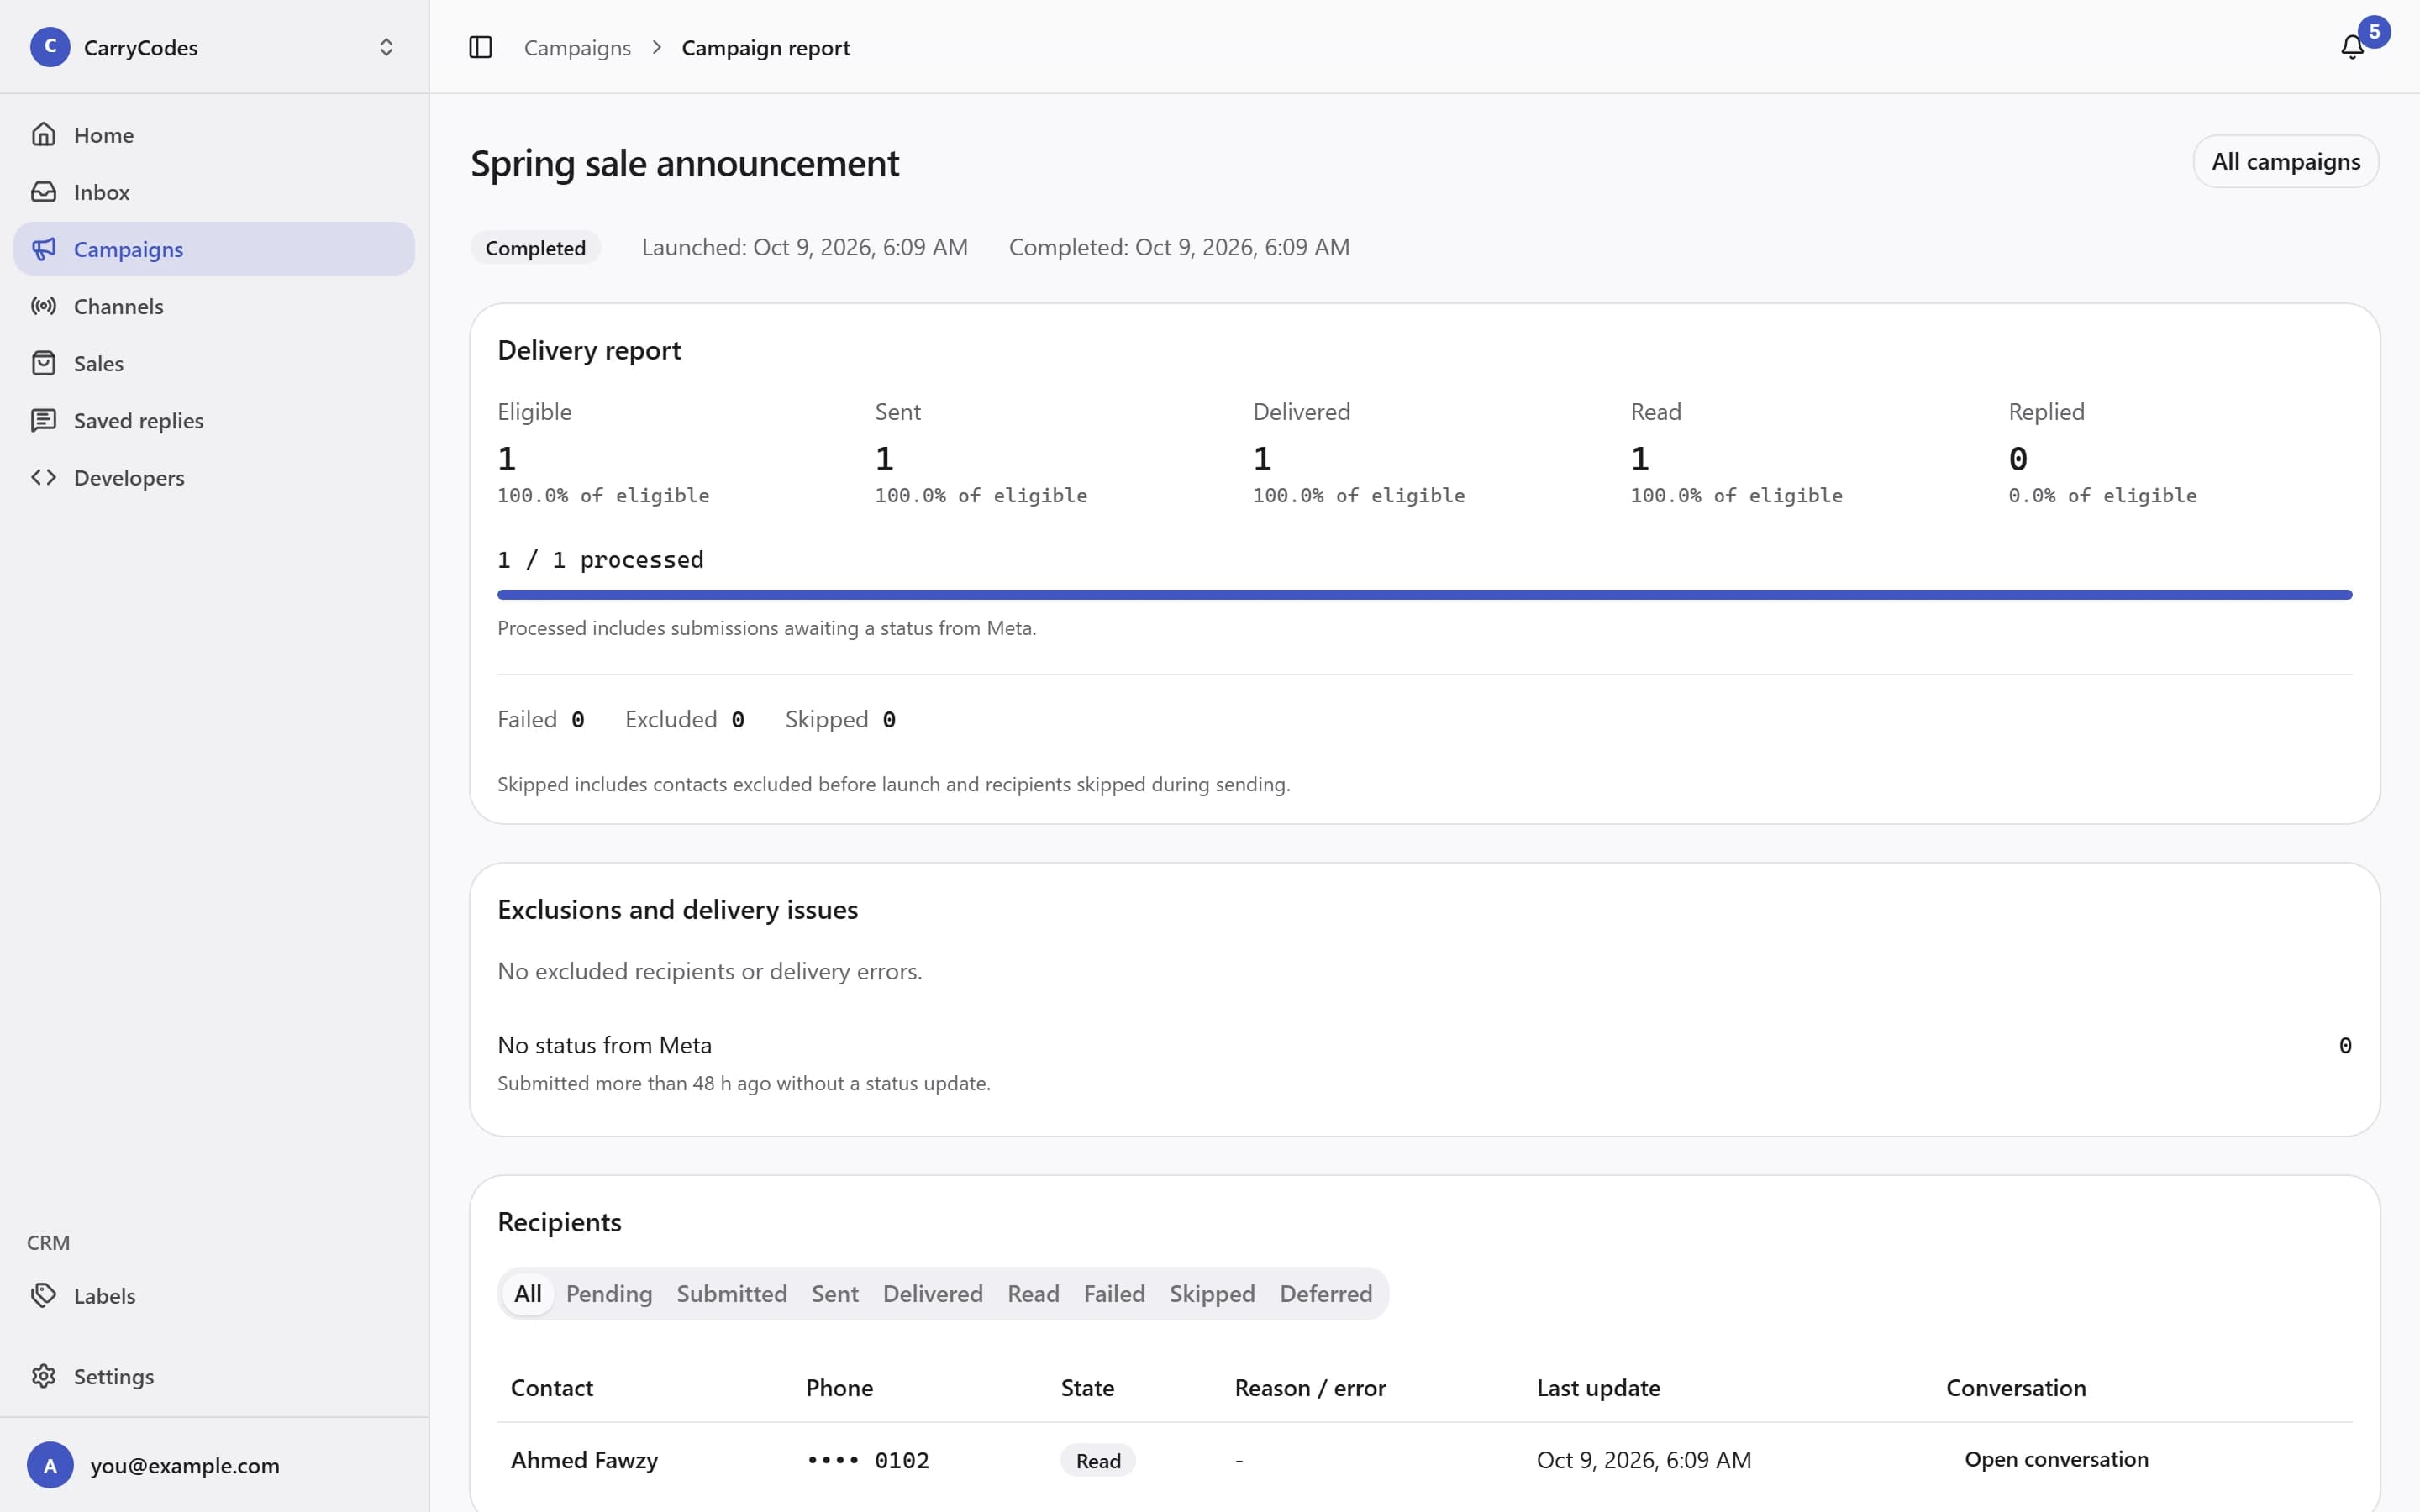
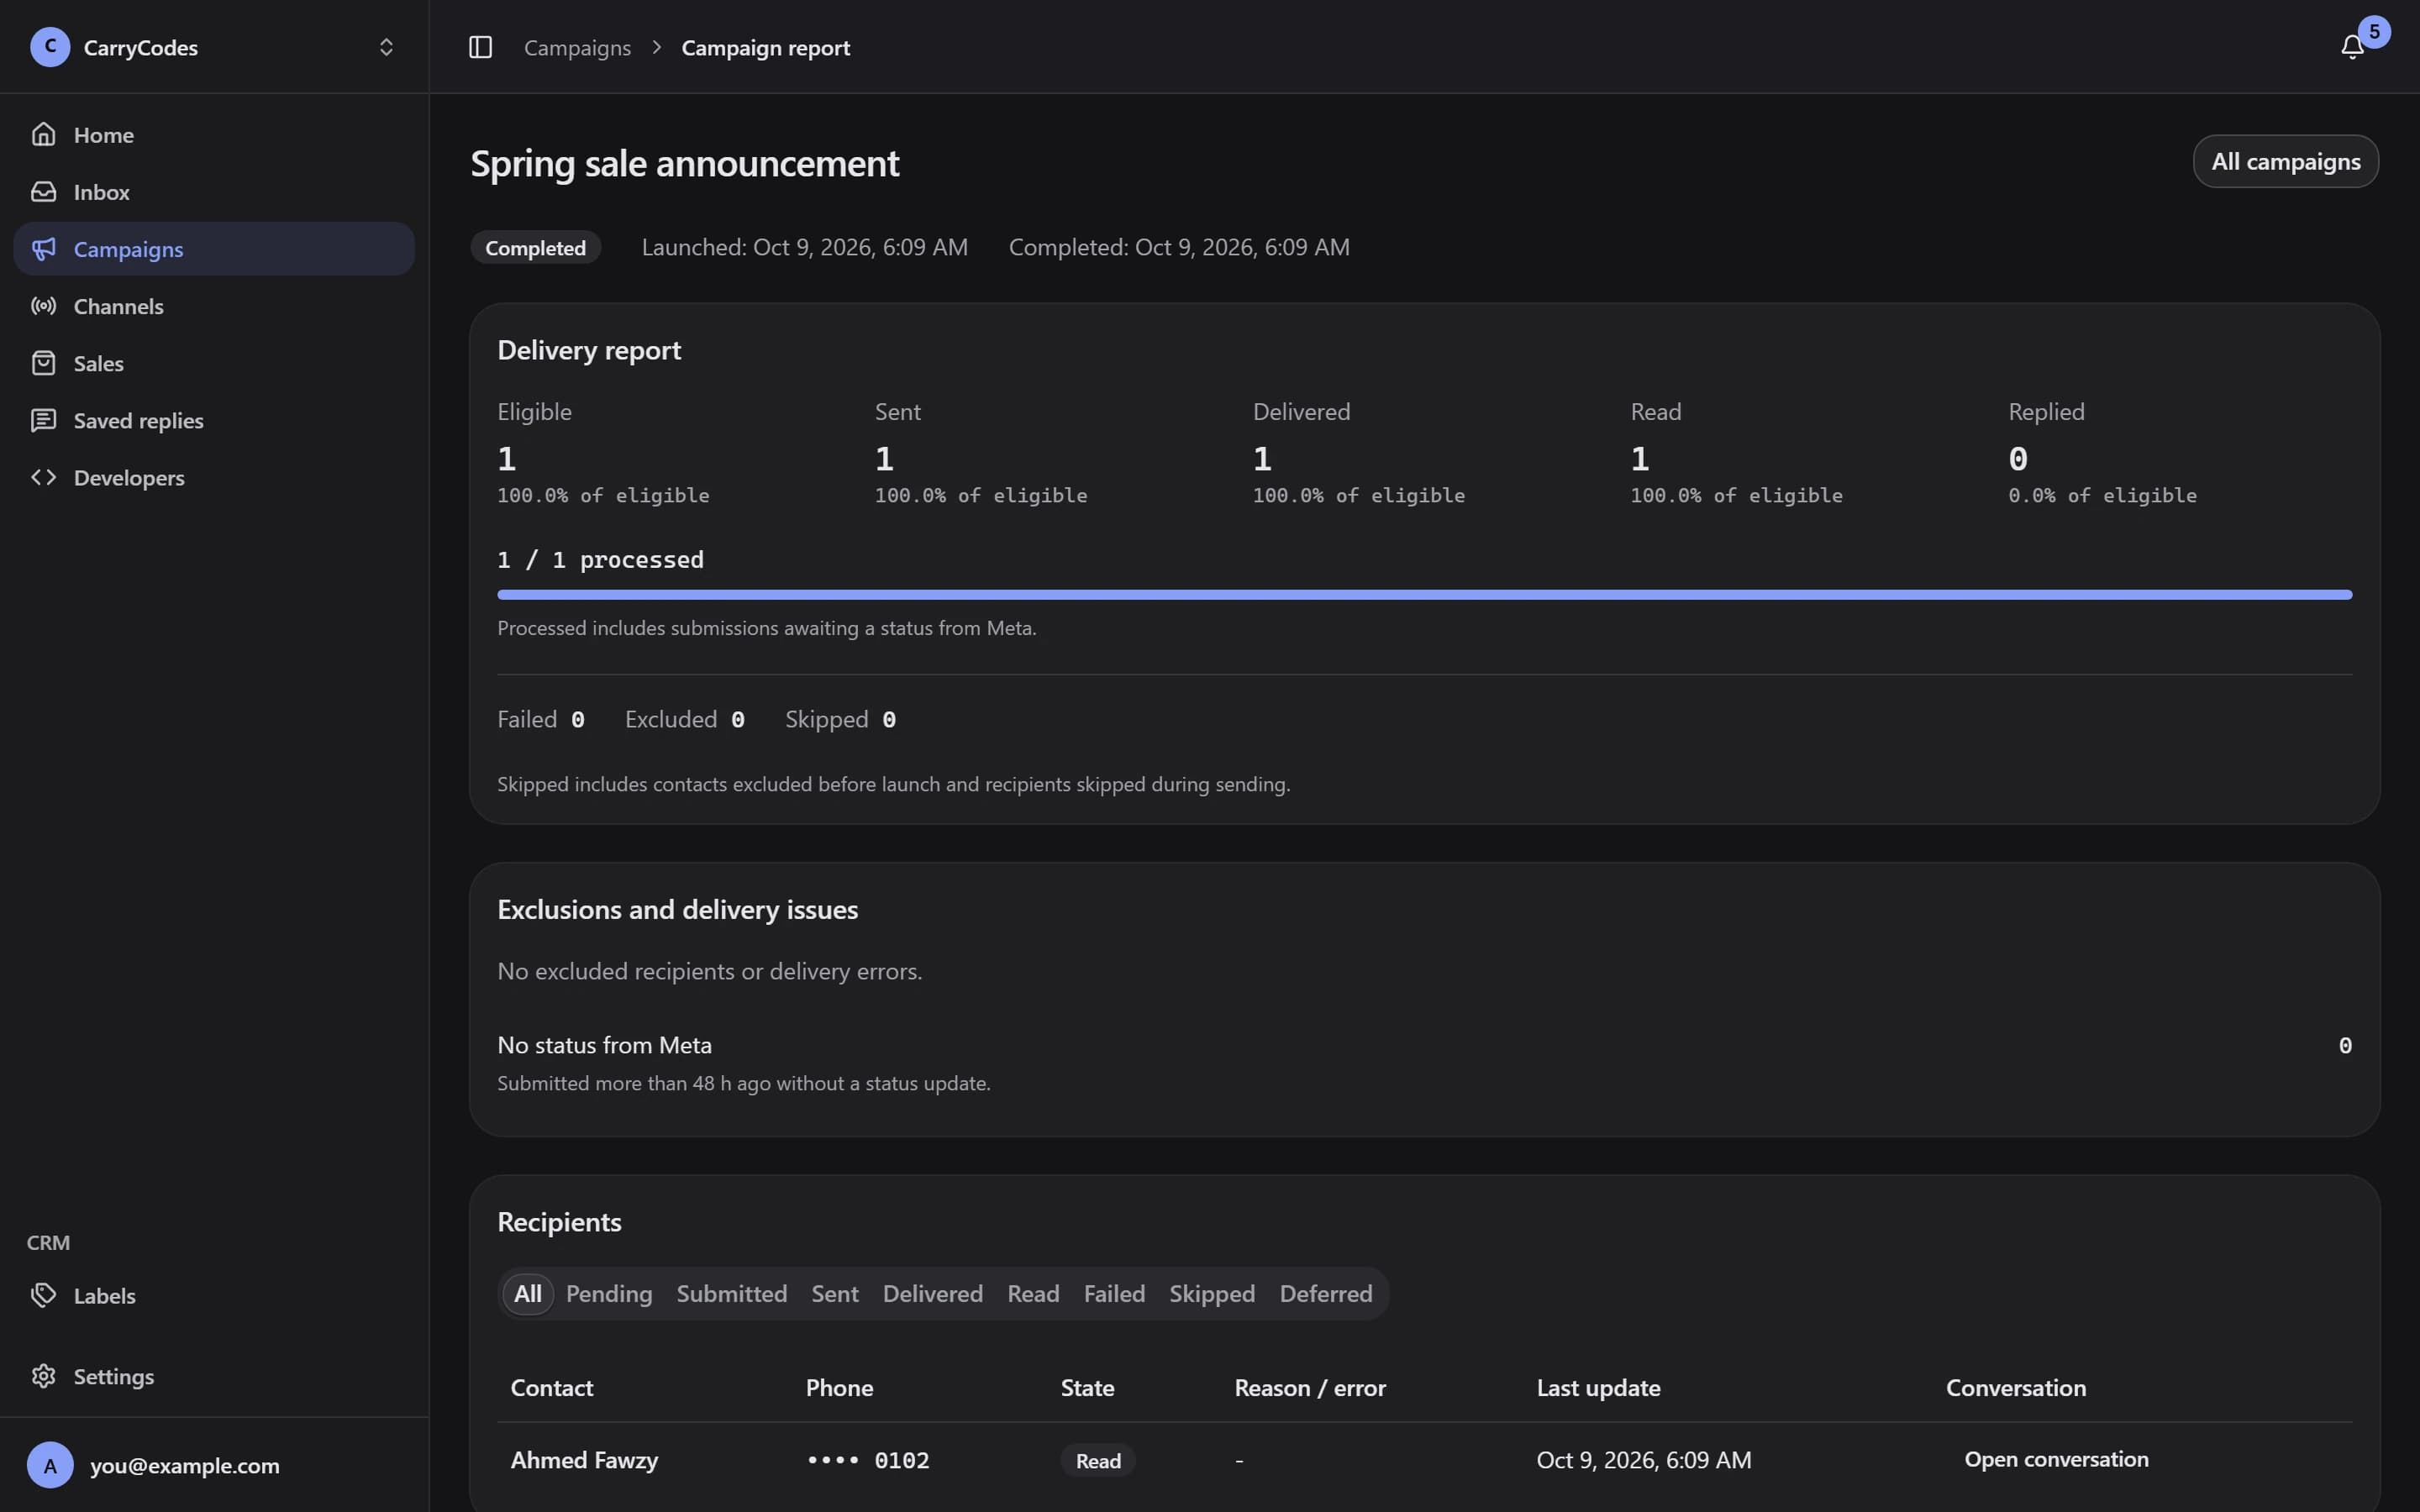
Follow the report from eligibility through replies.
Campaigns do not support media headers. Opted-out contacts are excluded from marketing sends. Sent messages cannot be recalled.
Developers
Your application does the thinking. We send the code.
The login screen needs a verification message. Your backend owns the code and its rules. Connect the message delivery, then make room for outcomes and retries.
Give the integration its own key.
Create a named API key for the integration. Save it server-side when it is shown; you can revoke it later. Prepare an approved Authentication template for OTP delivery.
Send the code your app owns.
Your application generates and verifies the OTP. Watification sends it through the OTP API. Use Idempotency-Key when retrying the same logical request.
Receive signed outcomes.
Add a public HTTPS webhook endpoint. Verify its HMAC signature over the raw request body and handle repeated events safely.
Inspect and recover.
Use Send test event and View deliveries to check the receiver. Replay retained deliveries when needed. Distinguish per-key rate limits from monthly quota errors.
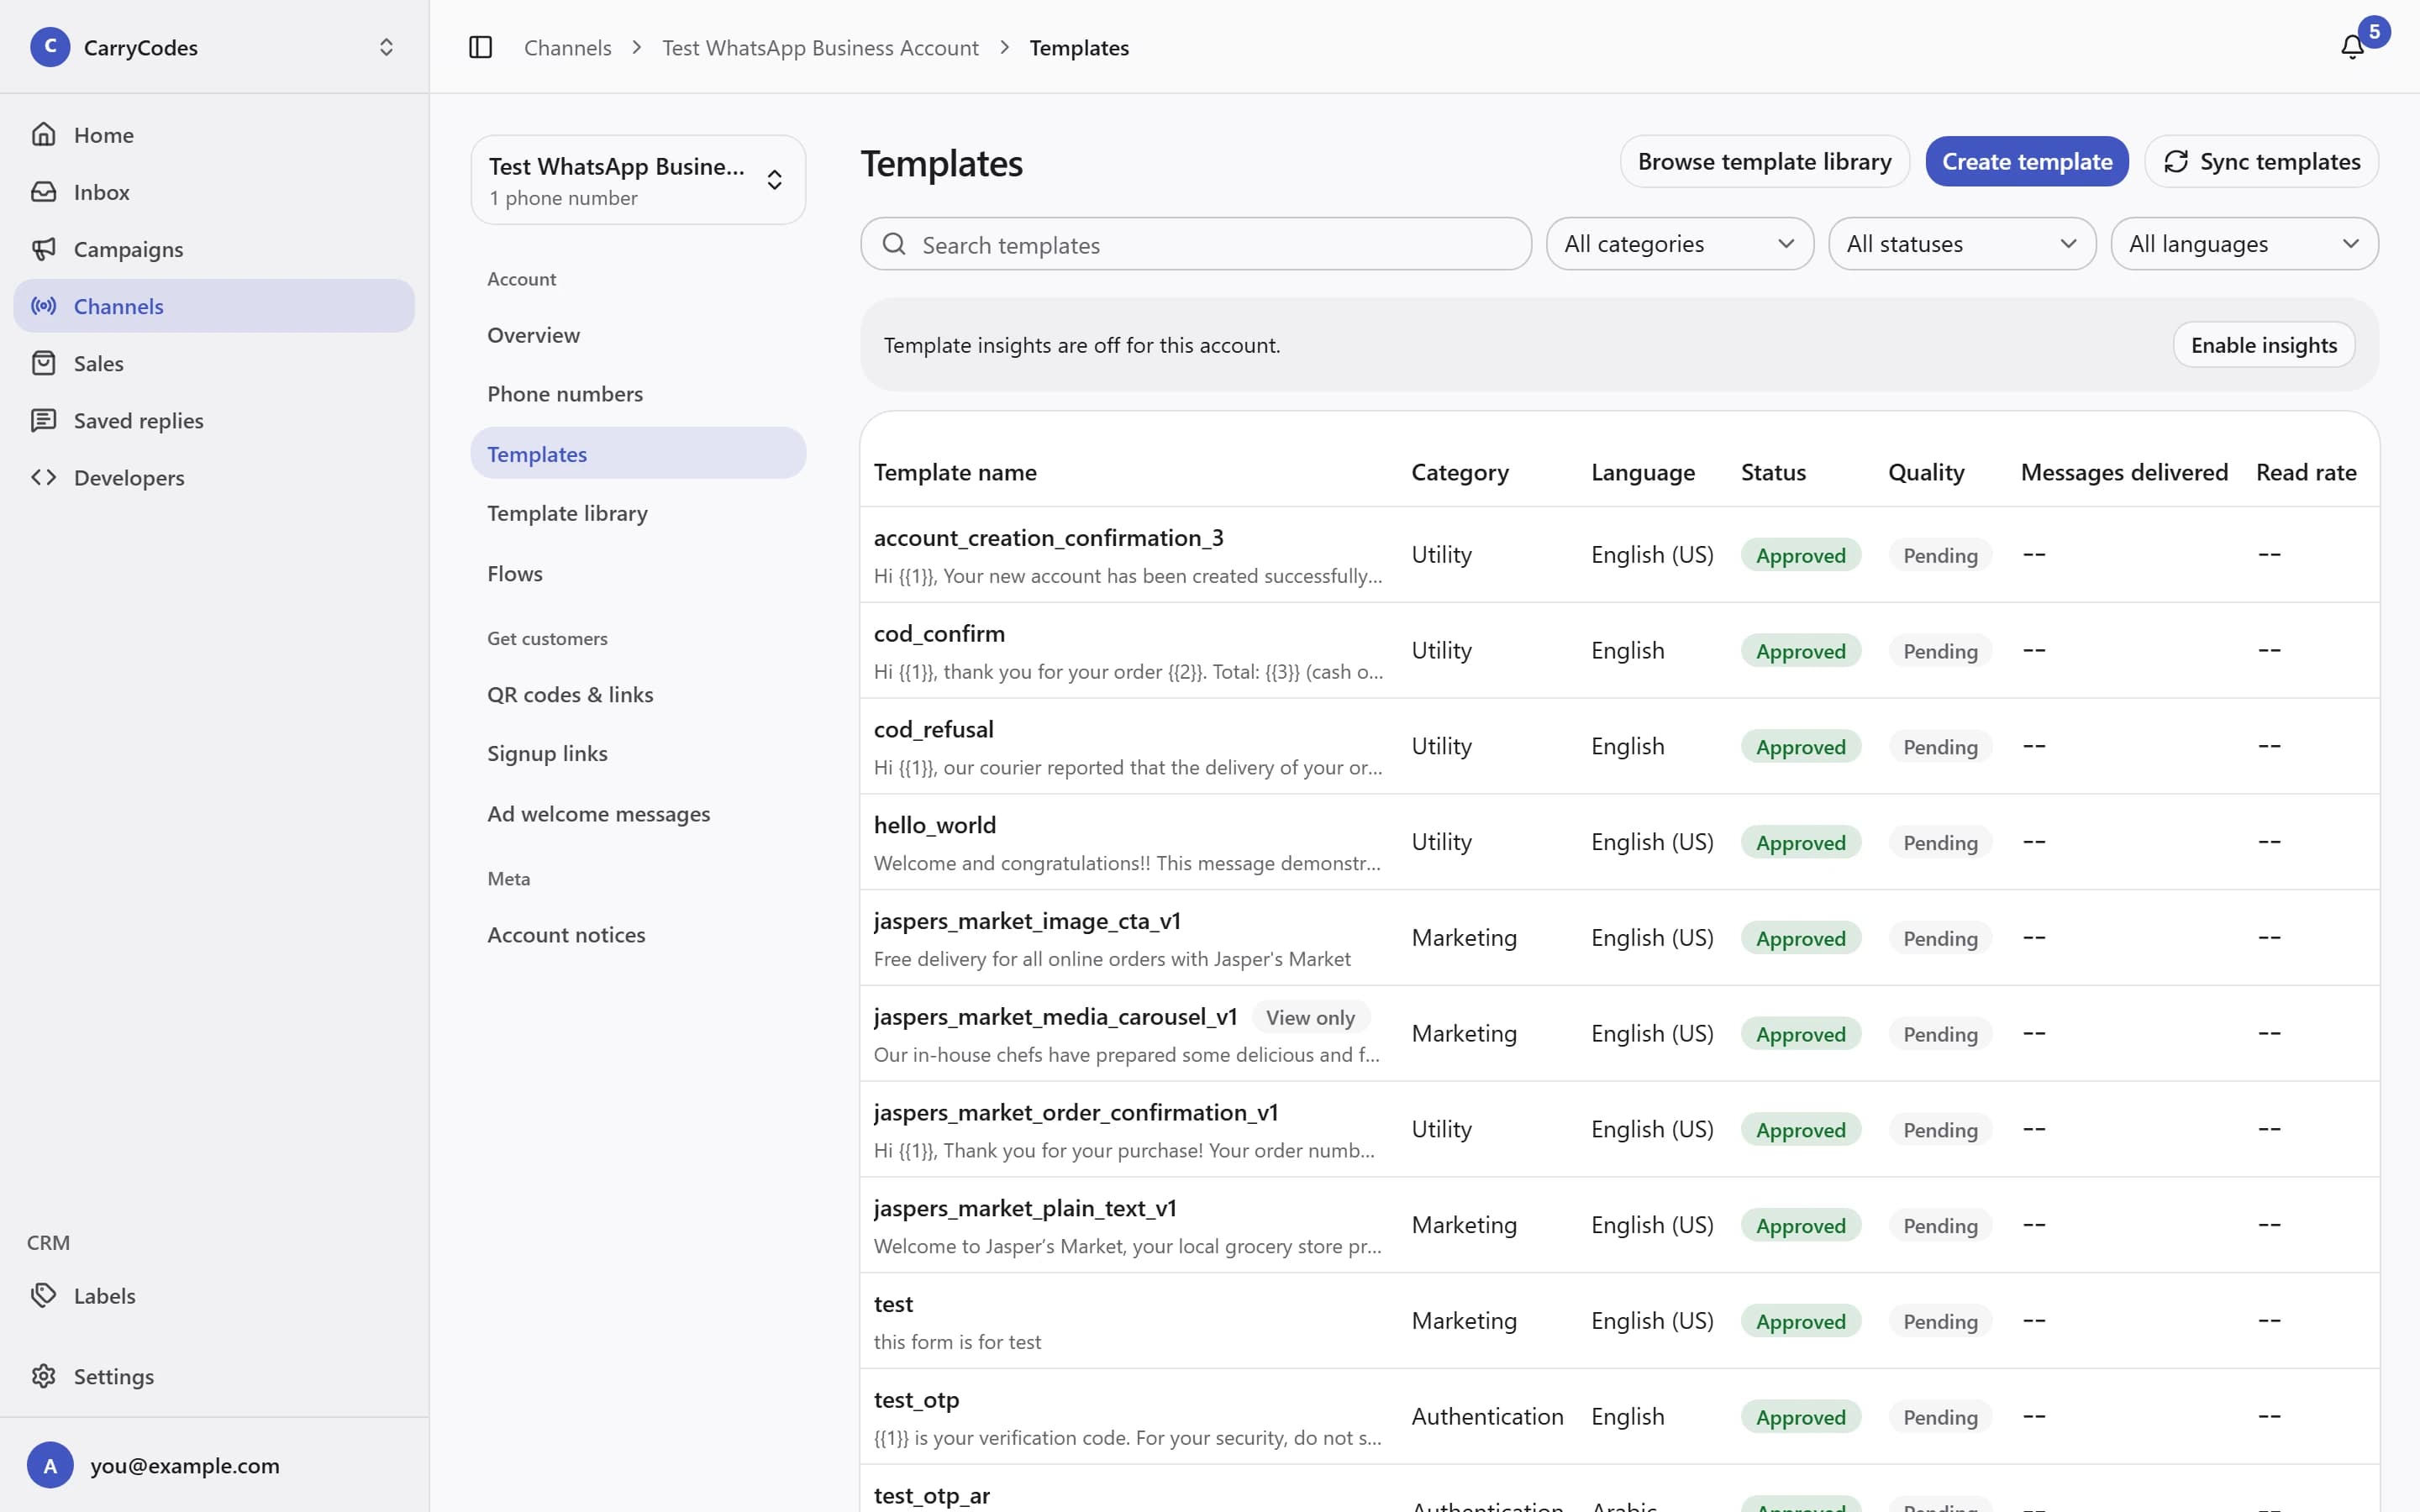
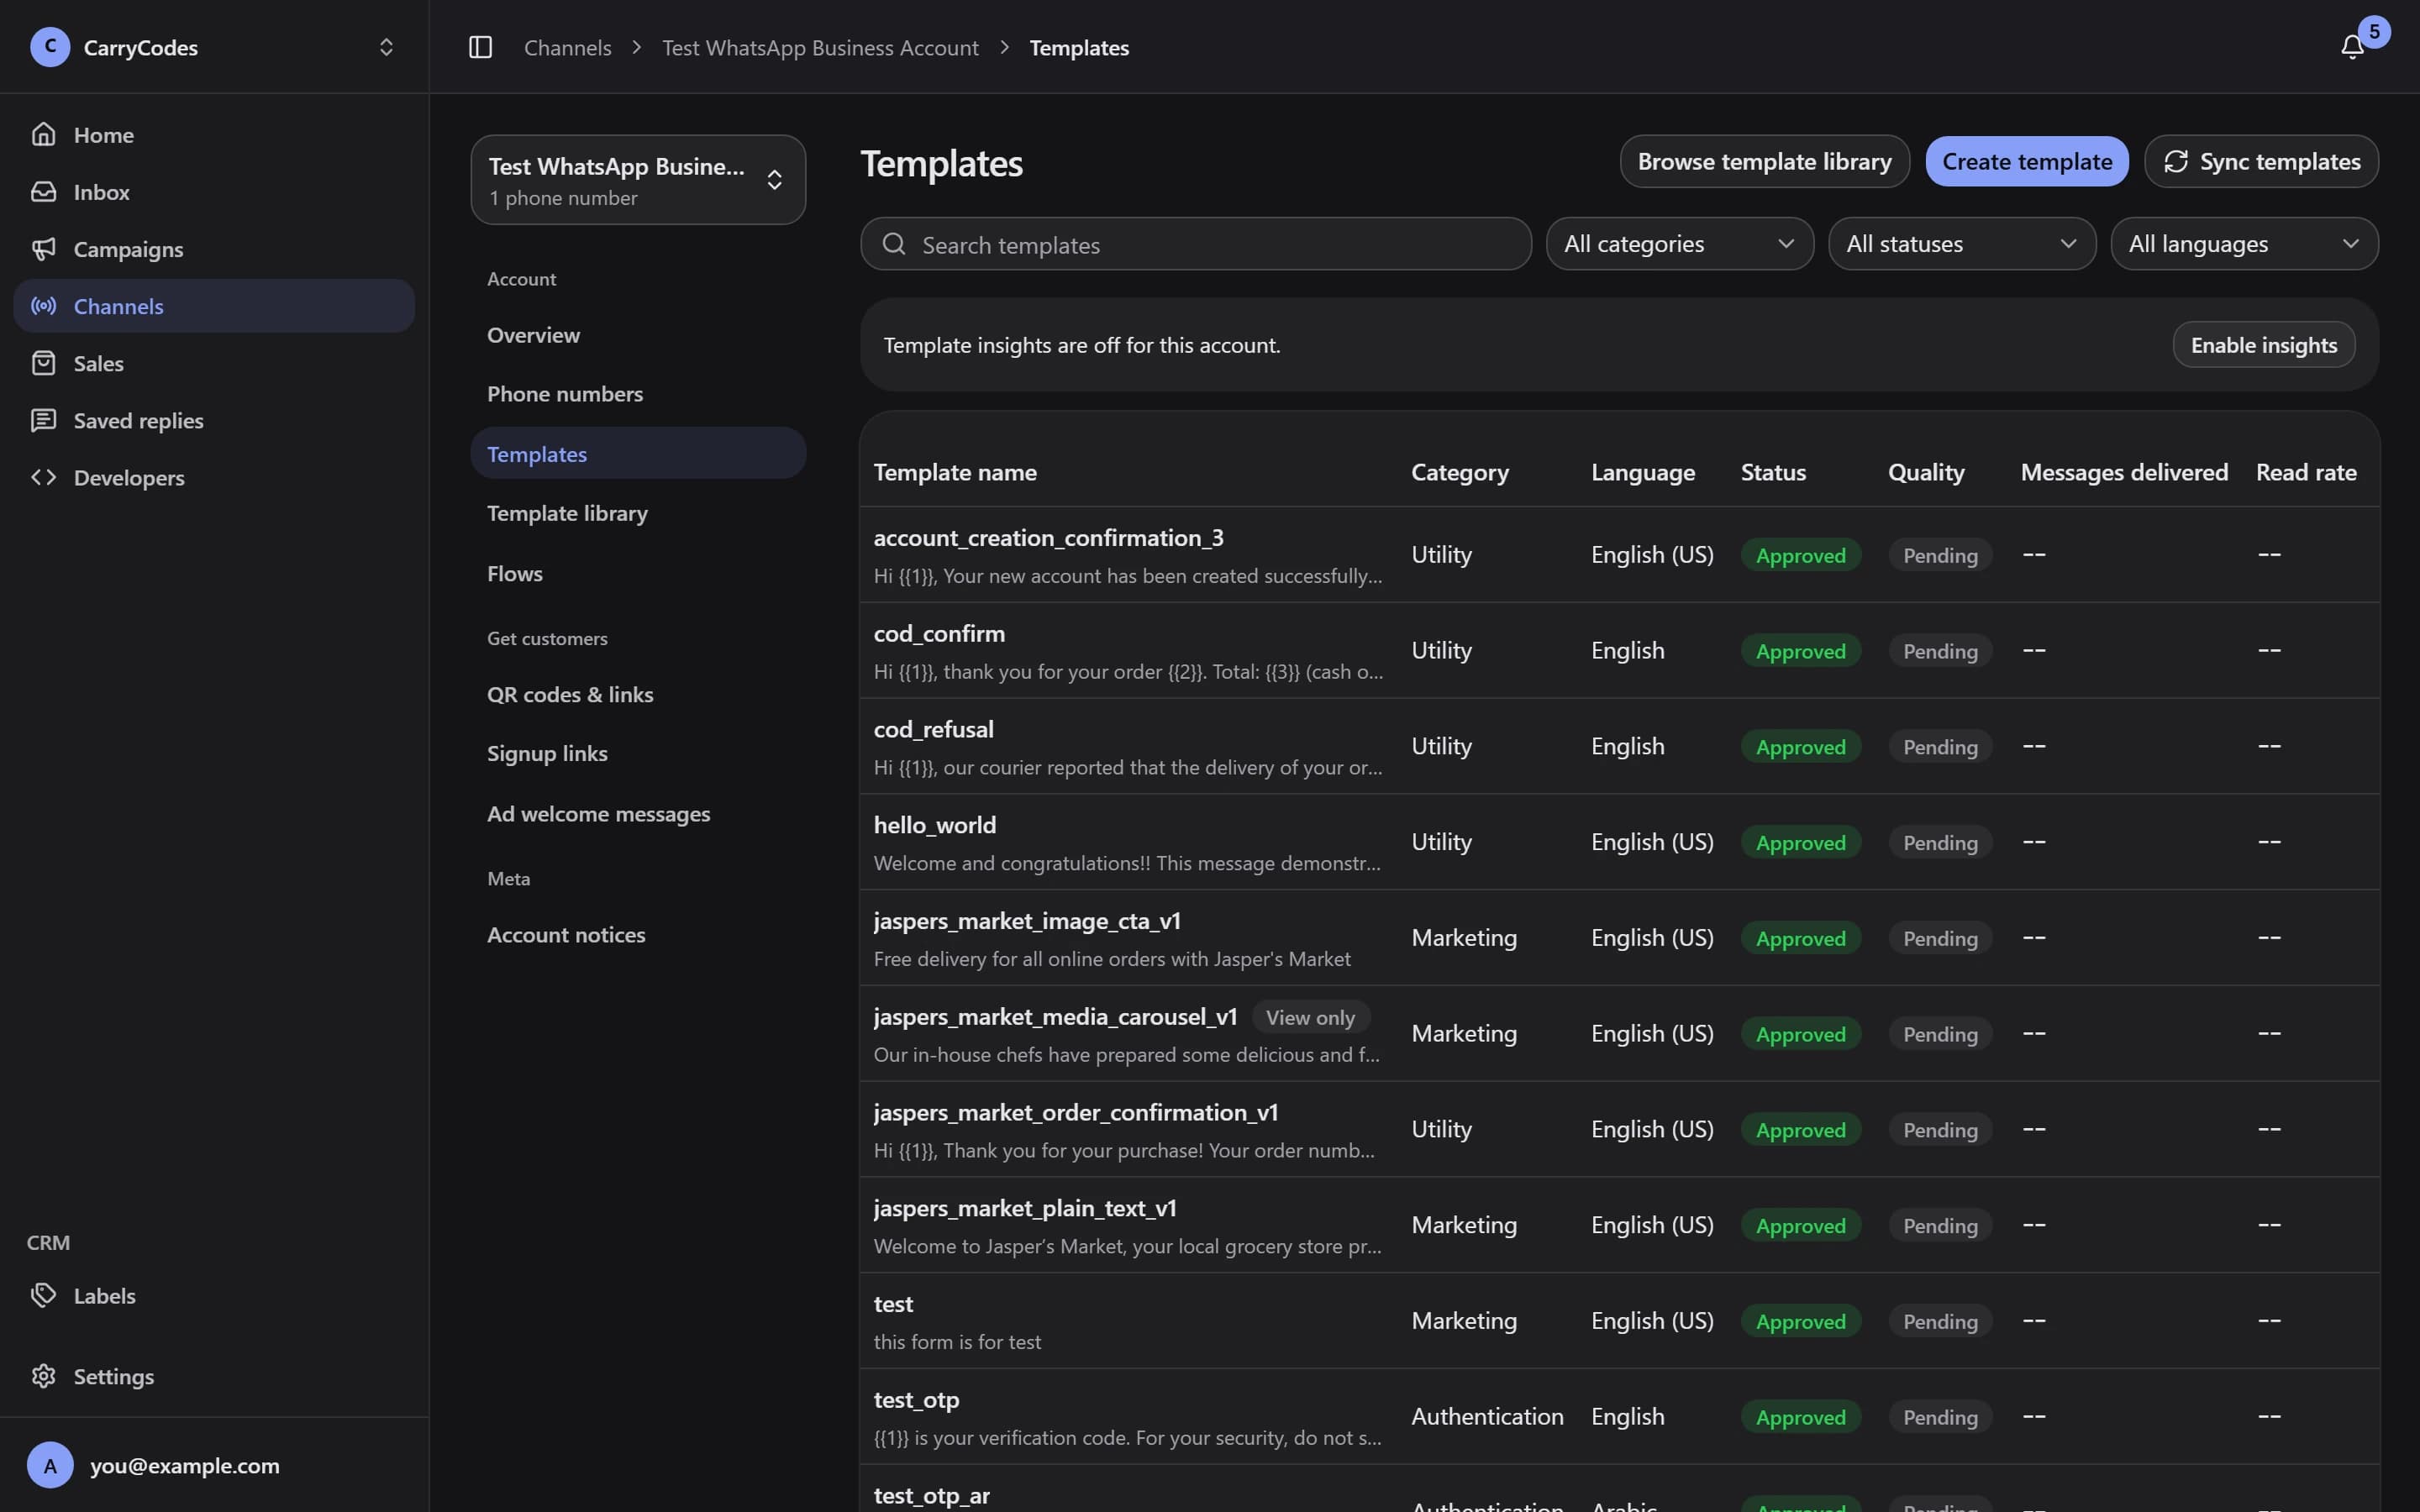
The template library shows the categories and review statuses used to prepare an approved Authentication template. API and webhook steps are covered in the guides below.
There is no sandbox or test-mode key. API requests send real messages. Your application remains responsible for generating and verifying codes.
Bring your everyday work to Watification.
Join the pre-launch waitlist and confirm your email. Access is invite-only, with invitations sent in small batches.
Join the waitlistJoining does not guarantee an invitation date.